- Why Host a Webinar?
- Step 1: Choose the Right Objective
- Step 2: Choose the Right Topic
- Step 3: Outline the Topic
- Step 4: Choose the Perfect Length for Your Webinar
- Step 5: Choose the Perfect Date and Time for Your Webinar
- Step 6: To Script or Not to Script
- Step 7: Create Slides
- Step 8: To Co-host or Not to Co-Host
- Step 9: Market Your Webinar
- Step 10: Use the Right Tools
- Step 11: Do a Dry Run Through
- Related Resource

It’s time to host your first webinar. You’re:
- A) Excited to connect with your audience in a new way
- B) Overwhelmed already and not sure where to start first
- C) Not sure why you thought this was a good idea in the first place
- D) All of the above

If you answered D) All of the above, you’re exactly where you should be. Hosting your first webinar can be fun but it’s also a whole bucket of scary at the same time.
I bet you’ve asked yourself these questions before:
Will the audience like my presentation? Will anyone actually show up? Will I look and sound like a total fraud?
The most important part of hosting a webinar is what you do be beforehand to prepare. Click To Tweet
Let me ease your mind. Hosting a webinar is actually pretty simple. The most important part of hosting a webinar is what you do be beforehand to prepare. And the good news is, I’m going to tell you exactly what to do before, during, and even after your webinar to make it a success.
If you follow these steps, people will like your presentation. People will show up. And no one will think you’re a fraud. In fact, they’re going to think you’re a boss. Let’s get started.
Here’s a list of the 7 emails you should send before and after your webinar.
Why Host a Webinar?
Before we go into the many marvelous reasons to host a webinar, let’s quickly define what a webinar is. A webinar is a video workshop. It’s often (but not always) presented to a live audience. It’s unscripted, interactive, and informative.
It’s not an infomercial because it’s not about hard-selling an item or service. Your webinar should provide actionable information that your participants can use to solve their problems. That’s not to say that you can’t sell your product, but you should go into your webinar with the mindset that you’re going to give and not just sell.
Now, let’s talk about why webinars are marketing miracles:
Webinars are inexpensive to produce.
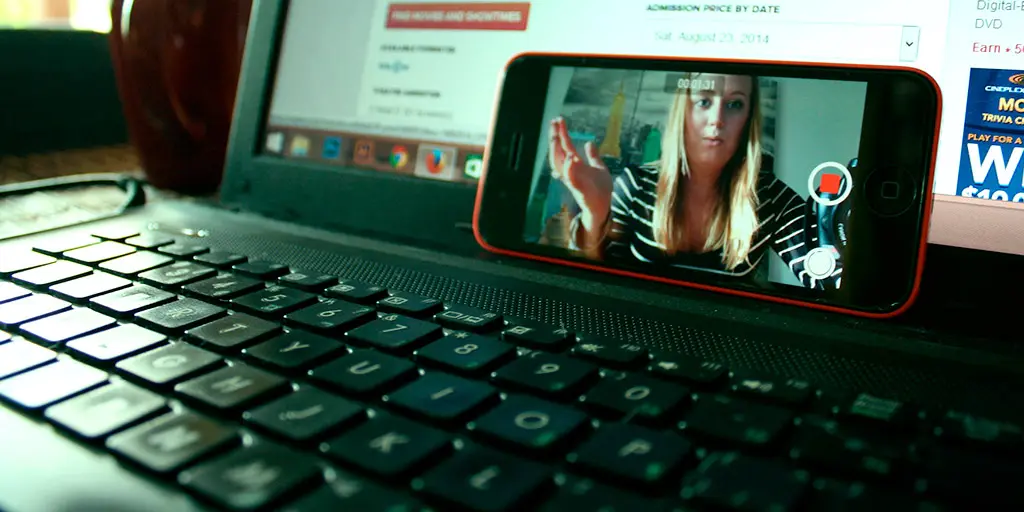
You don’t need a ton of special equipment to create a webinar. In fact, the smartphone in your pocket has everything you need. Webinars can be done for free, if you’re cash strapped. But, even with a tiny budget, you can produce a webinar that looks just as professional as the big brands.
Webinars humanize your brand.
It’s hard to connect with others through written words alone. Not that it can’t be done (especially with the right writer *wink wink*), but it’s often easier to connect with others when you’re sharing video and/ or audio with your audience.
Webinars are the gifts that keep on giving.
Record your webinar once and use it forever– or at least for the foreseeable future. You can repackage and repurpose your webinar. Add your webinar to an upcoming course. Edit your webinar into bite-size chunks and share those snippets on your blog, social media, and knowledge base. Or, you can keep up your webinar recording and use it as an awesome lead magnet.
Webinars give you space to educate your audience.
You’ve invite people to listen to you, and they’ve accepted that invitation.

You have uninterrupted time to teach them something useful while promoting your brand at the same time. You can reach superhero status just by solving your audience’s problems.
Webinars are easy to create.*
*Here’s the fine print. Sure, webinars are easy to create, but it’s still hard work. While each step is easy, it still takes a lot of steps to create a winning webinar. You’ll need to dedicate hours of your life to making it happen (if you want it to be successful).
Fortunately, all you need is this guide. Here are the steps you need to take:
Step 1: Choose the Right Objective
The very first thing you need to ask yourself is this one question:
What do you want to accomplish with your webinar?
Do you want to build awareness for your brand?
You want to introduce yourself to your audience.
Do you want to generate excitement for a current or upcoming product?
You’re pumped about your new product/ service and you want to market it to the public.
Do you want to grow your email list so you can continue marketing to your subscriber base?
You’ve heard that the money’s in the list, and you want to increase your subscriber base.
Do you want to create evergreen content for your library or knowledge base?
You’re planning on adding to your existing library, and you think a webinar is a great way to multi-task.
Having a clear objective can help you design a better webinar– one that helps you meet your goals.
Step 2: Choose the Right Topic
How do you decide what topic is best?
Here are a few questions to help you:
What question(s) do you get asked often?
What’s the one question that people are always asking you to solve for them?
What product/ service do you wish to promote?
Do you have a new product or service coming out?
What is your most popular blog post?
Check your Google Analytics, your email click-through rates, and your most popular social media posts to figure out which topics resonate with your audience.
What does your audience say?
Use our simple survey tool to find out what your on-site visitors want to learn about. You can also poll your email list.
Step 3: Outline the Topic
Outlining is boring, you say. I like to wing it, you say.
Here’s why winging it is not a good idea:
You’ll prattle on, meandering from point to point, and it’ll be difficult for your audience to follow. Sure, they may be able to cherry-pick a few good points, but overall, it’ll feel disheveled and you’ll seem unprepared. Your audience may even feel like they’ve wasted their time.

Don’t let the idea of outlining overwhelm you. You don’t have to go too detailed. You can simply start with the main ideas you’d like to discuss, but be sure to place them in a sequential order that makes sense.
When you’re thinking of how to structure your webinar, there’s a basic guideline you may follow. Webinars can be divided into three parts like so:
Step 4: Choose the Perfect Length for Your Webinar
How long should your webinar be?
One hour or less. The reason why your webinar shouldn’t be longer than one hour is because people have very short attention spans, and aren’t likely to stay attentive for much longer than 60 minutes per sitting.
Also, a lot of people listen to webinars during their lunch hour, or even during a gym session. They’ve whittled out time to hear your presentation. It’s hard enough to find one hour to do something, let alone more.
But if you really feel like your webinar needs to be three hours long, break it up into three different webinar sessions.
Step 5: Choose the Perfect Date and Time for Your Webinar
Now that you know how long your webinar should be, do you know when you should host it? Here’s a hint: not on the weekend.
Weekends are the absolute worst time to host a webinar. Think about it: on the weekend, do you really want to think about work and buying decisions? I think not.
Research shows that the best time to host a webinar is on Wednesdays or Thursdays in mid-afternoon (think 2pm-ish).
Step 6: To Script or Not to Script
I’m going to come right out and say, “don’t script”. A script will make you sound rehearsed and stiff. If you want to sound like a boring, inauthentic, uninspired infomercial, read from a script.
If you want to sound like an actual person sharing valuable information, create a detailed outline and speak naturally like you would to a friend. You don’t need a script– you already know the information.

Step 7: Create Slides
I’m sorry to be the one to break this to you, but just listening to you, or even looking at you, can get really boring really fast.

Slides help to keep the webinar exciting while giving your audience something new to focus on every few minutes. Otherwise, your audience will be staring at you while you stare at your own camera feed.
Use a free (or free-ium) tool like Canva or Picmonkey to create slides from professionally designed templates. And finding images couldn’t be easier (or freer) when you use high-quality stock libraries like Pexels or Pixabay.
Step 8: To Co-host or Not to Co-Host
Should you use co-hosts? As always, it depends.
Here’s why co-hosts rock:
Here’s why co-hosts don’t rock:
You’ll need to weigh the pros and cons to determine if a co-host will work for you.
Step 9: Market Your Webinar
Marketing your webinar starts with a landing page. On your landing page, include the benefits of attending your webinar along with a signup form. Be sure to set up and send automated emails to your subscribers to keep them in the loop.
Next, you’ll start reaching out to your potential webinar audience. Here are a few ideas you’ll definitely want to implement:
Step 10: Use the Right Tools
You don’t need a lot of tools, but you do need the following:
Step 11: Do a Dry Run Through
Last, but certainly not least, go through a dry run of your entire webinar. Here’s what to check for:
Ideally, you should go through your entire webinar from start to finish the day before your live webinar. And, in case you start feeling antsy, remember these wise words:

Related Resource
Before you go, check this out: