Do you want high quality product images for your online store, landing pages, and campaigns but don’t have a big product photography budget or the know-how? Having quality photos of your service/product can raise your sales and interaction by, on average 27% while helping to create brand trust. So where do you start if you don’t have the budget for professional equipment or a product photographer? Here is a basic guide to get you started.
Equipment you’ll need to get started:
There is always room for improvement and upgrades when it comes to your product photograph, but for this case I’ll break the next options up into three categories- Beginner, intermediate, and almost pro.
Beginner-
This is for anyone who is just putting a foot in and testing the waters of product photography. With just a few tools, you can begin filling your online and contest content in no time. Keep in mind, simplicity and brand awareness are key.
You’ll need
- A cell phone with a pretty good camera, I recommend one of the latest iPhones or a Galaxy S series.
- A well lit space, preferably with natural light from a window.
- A simple backdrop for your product- a cloth or curtain, matte backdrop paper, or even just a solid wall should do the trick. Here I have linked an affordable backdrop for bigger products- White Backdrop Cloth , as well as a simple seamless paper backdrop for smaller products- High Density Photo Backdrop.

Here are some quick photo taking tips for iPhone 12pro max- How to Take the Best Photos With Your iPhone 12 Pro or 12 Pro Max | PCMag.
As well as tips for the Samsung Galaxy s22- Samsung Galaxy S22 - Set Up The Camera To Take The Best Photos and 4K Video - Camera Tips & Tricks
Intermediate-
This price point is for you if you are comfortable behind the camera and you want to elevate the quality of your product photos a little further.
At this point, again I would recommend the latest high quality camera phone you have available.
You’ll also need:
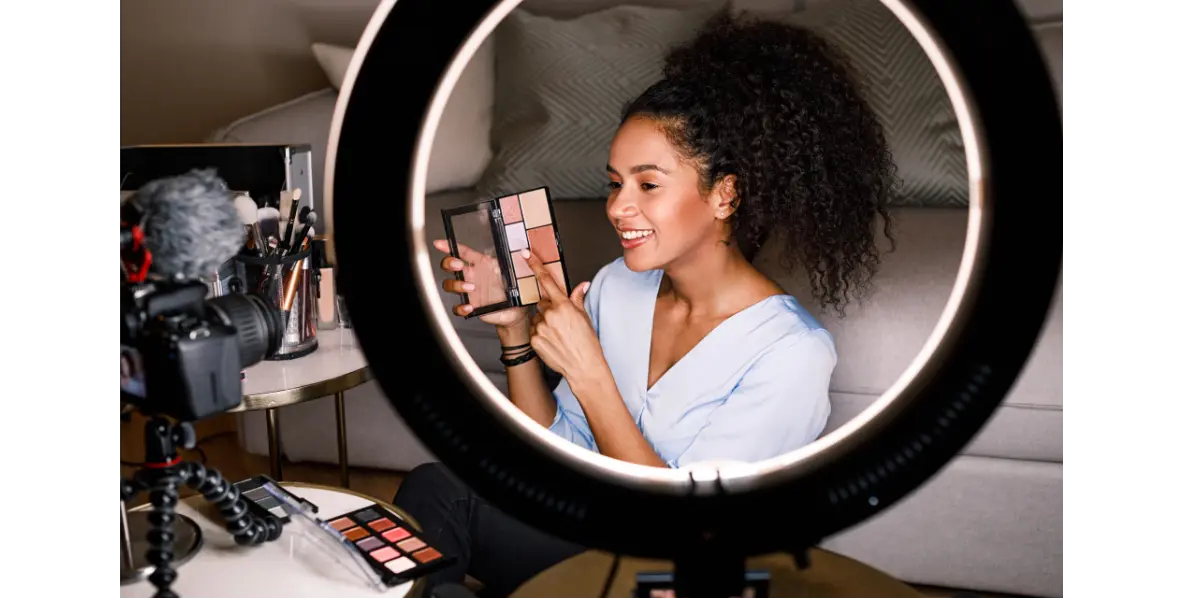
- Some off camera artificial lighting such as a ring light- Here is a great option that carries bonus points for also being an adjustable tripod and for having a bluetooth remote making stability during shooting much easier to obtain: 12” Ring Light with 54’’ Extendable Tripod.
- Simple, higher quality backgrounds- Here is a great option that comes with a few different variations: Reusable Backdrops.
Almost Pro-
At this level you should be feeling confident in your product photography skills and you are ready to go all out on your creative capabilities. This is the best option for total creative brand control.
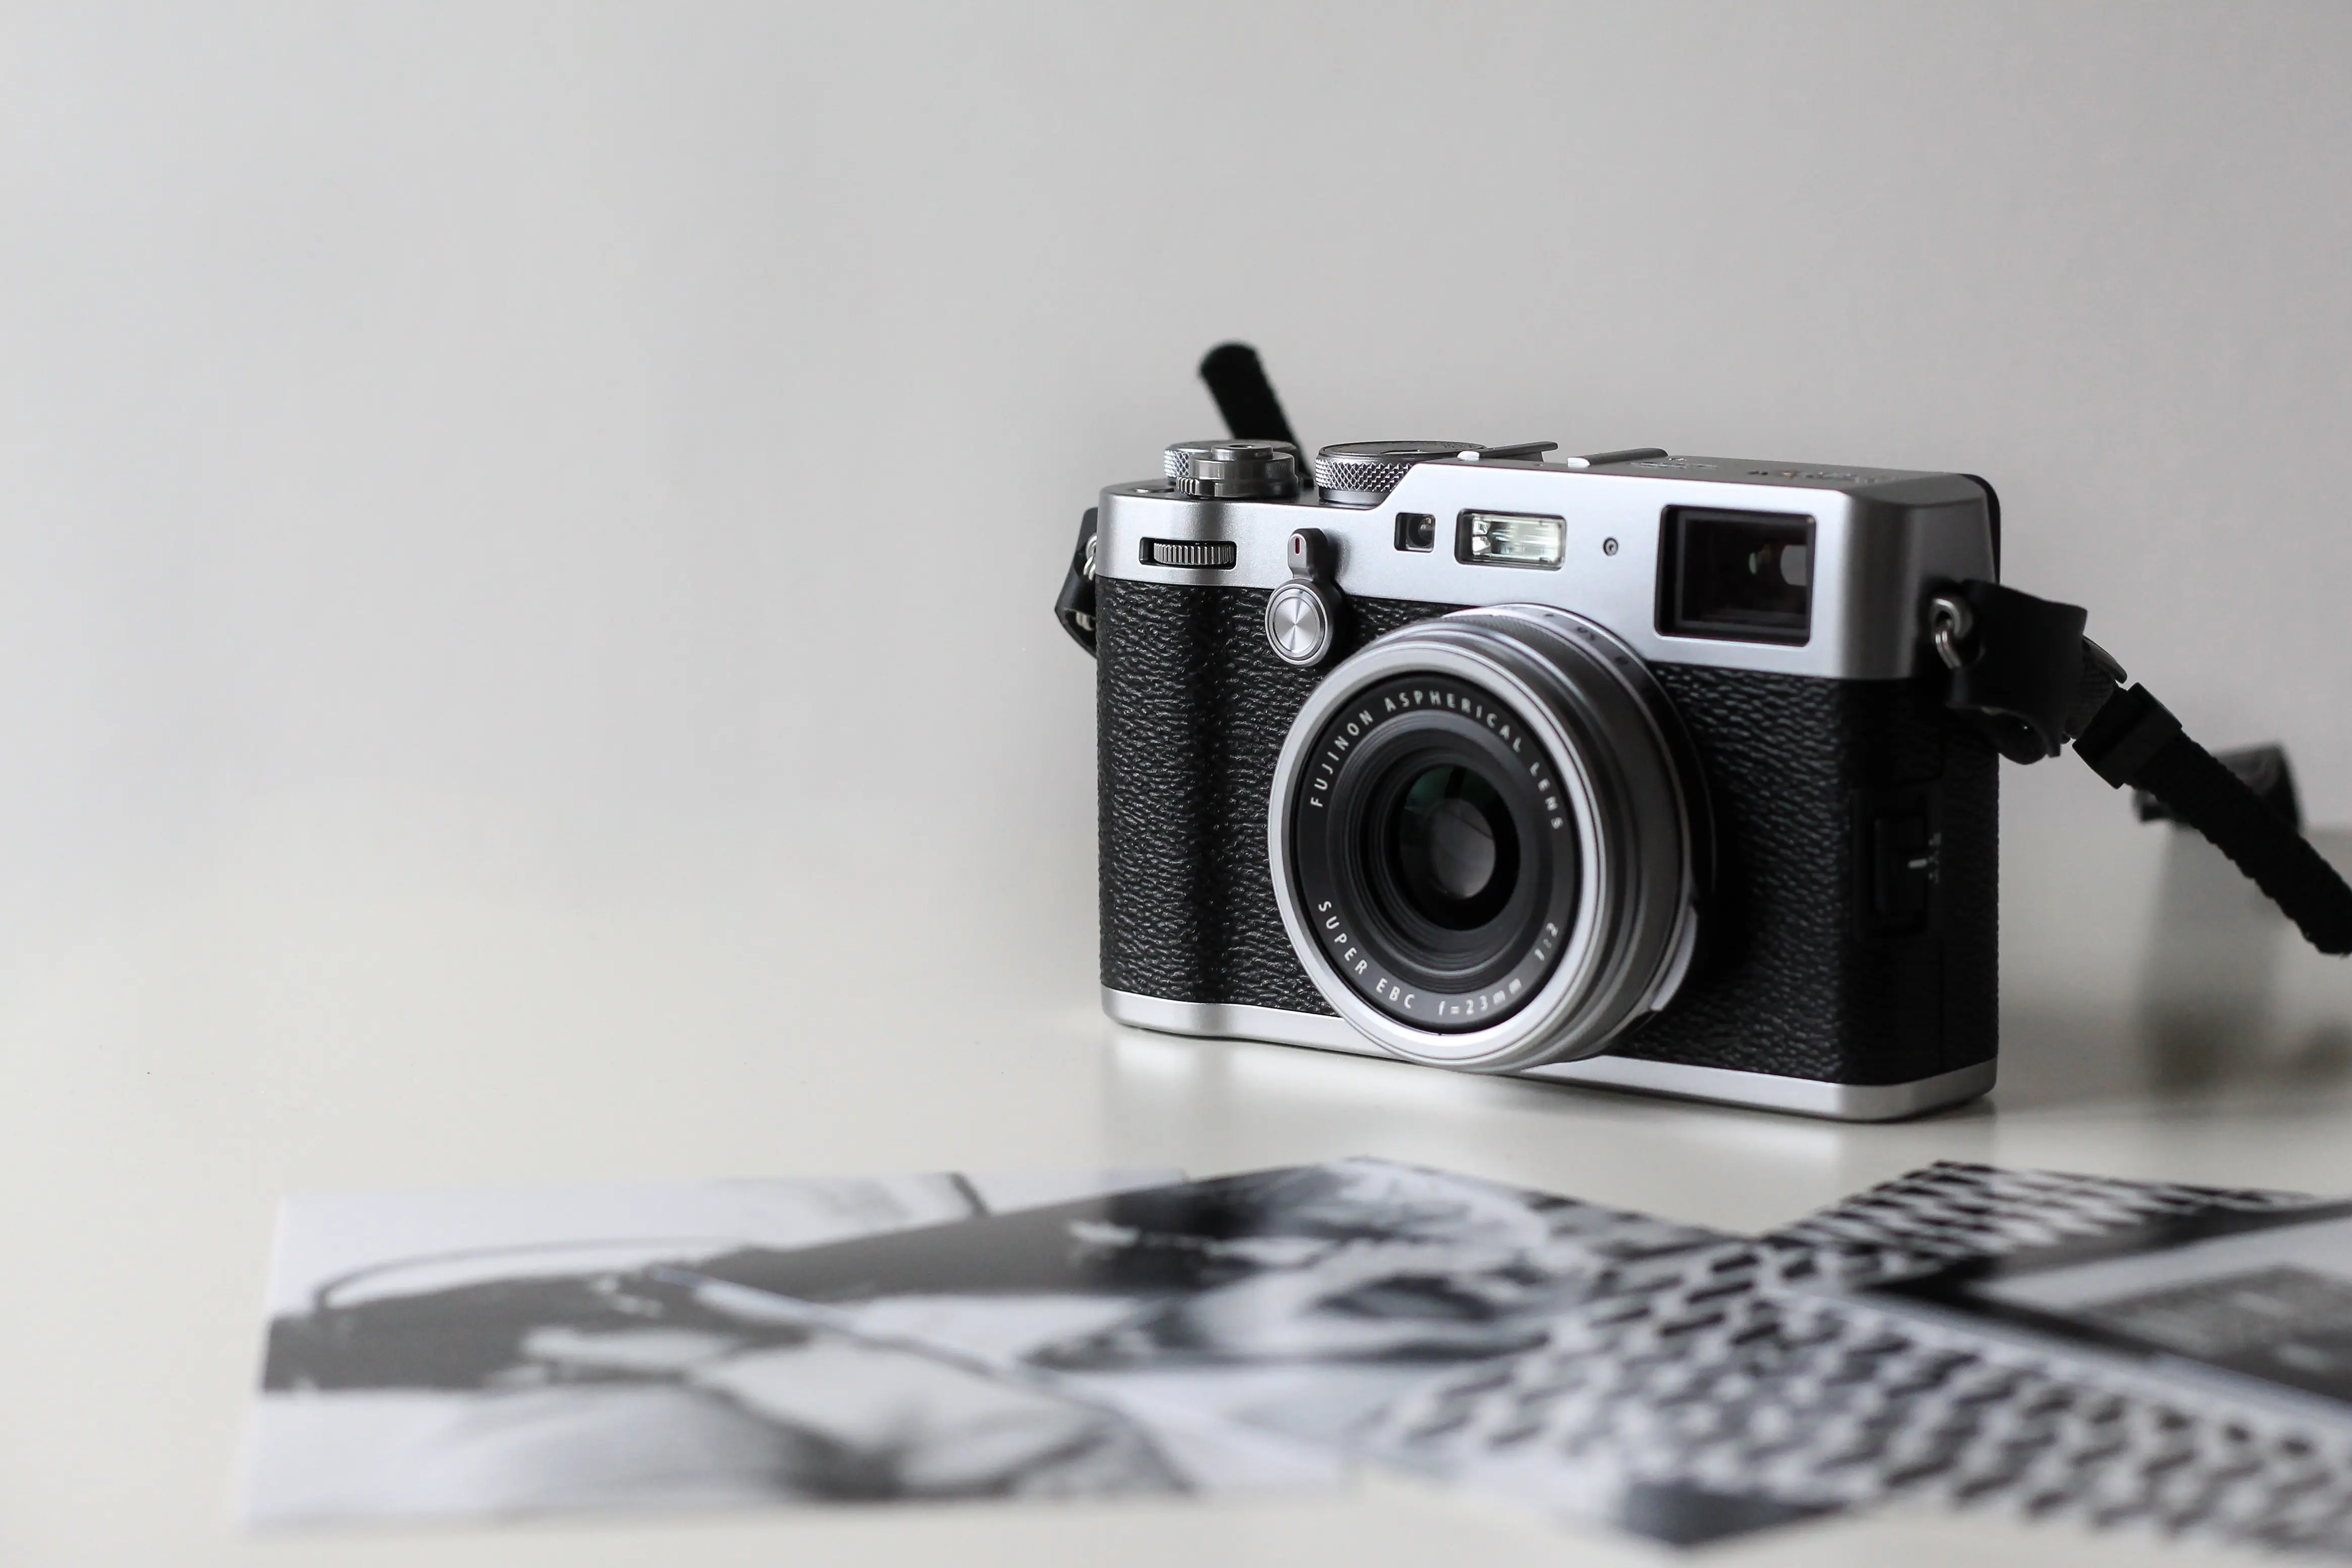
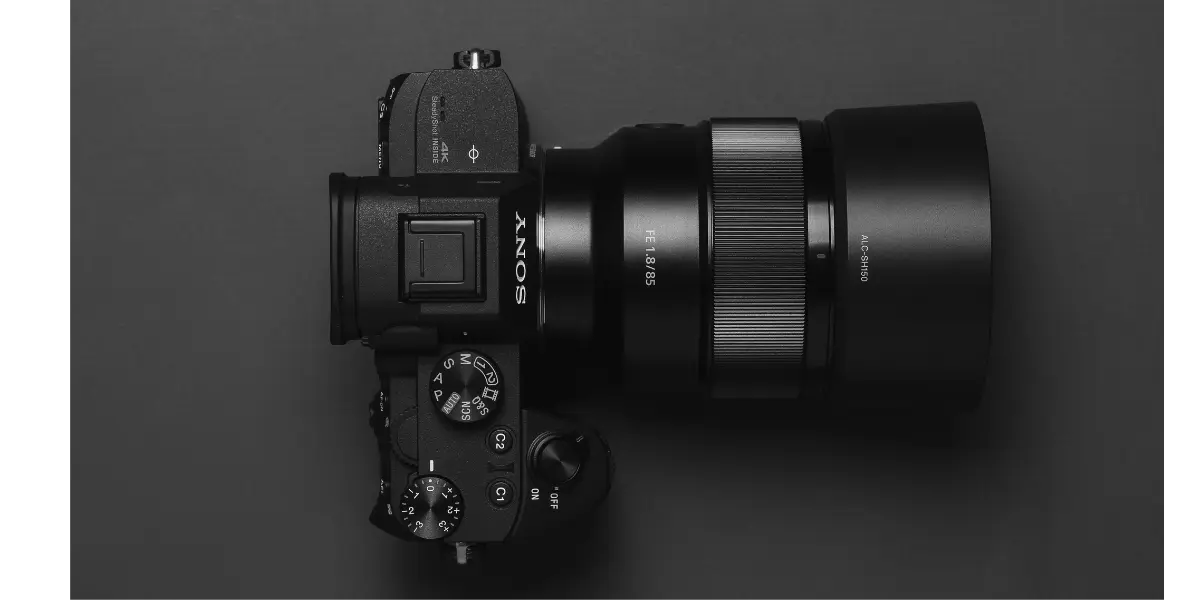
- Now is the time to swap the cell phones for a DSLR camera. You don’t need the best, newest, or fastest on the market- a simple camera with a 24, 35, or 50mm lens attached will do. This will give you more control over subject focus, lighting effects, shutter speed, and the editing power of shooting in RAW. Here is a great starter camera kit: Canon T7i kit with accessories
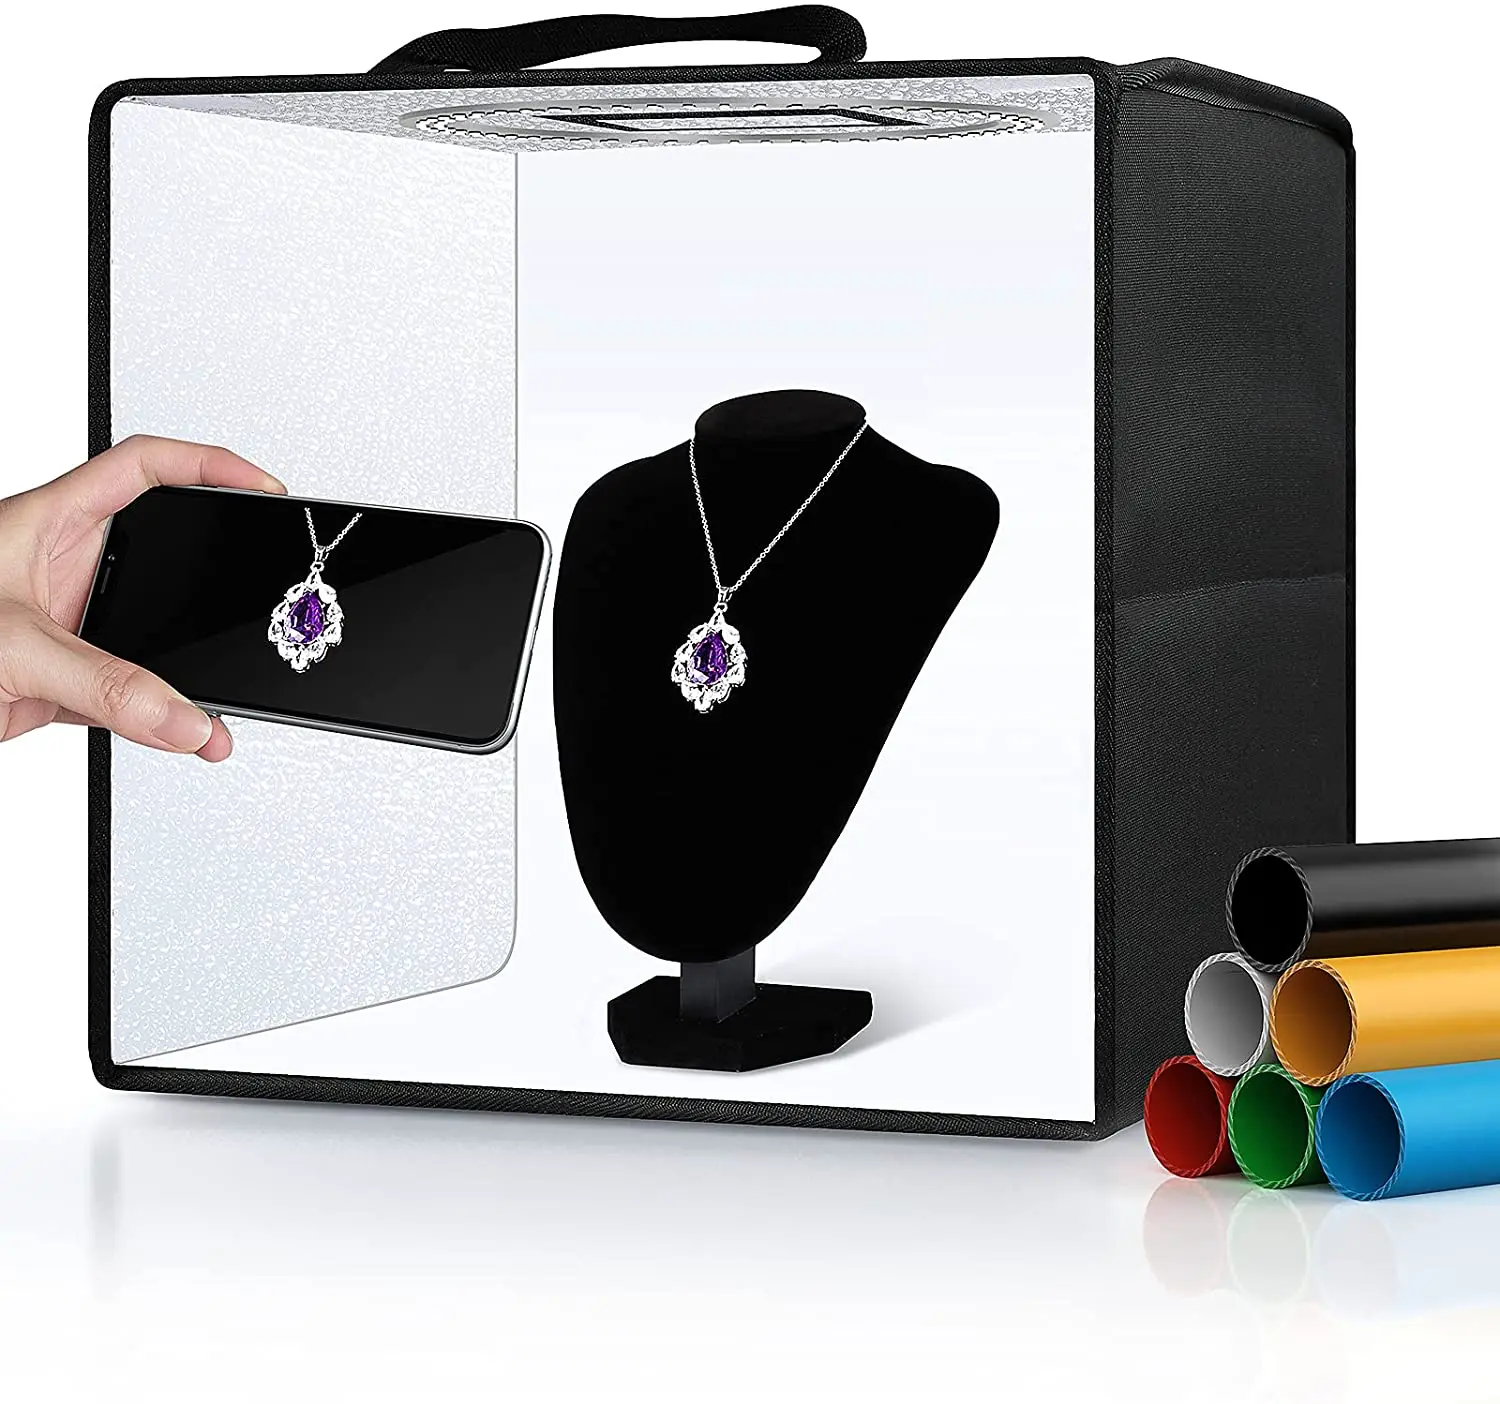
- A photo studio box and quality backdrops make a very achievable, simple, clean look. Here is a solid studio box: Amazon Product Studio Box
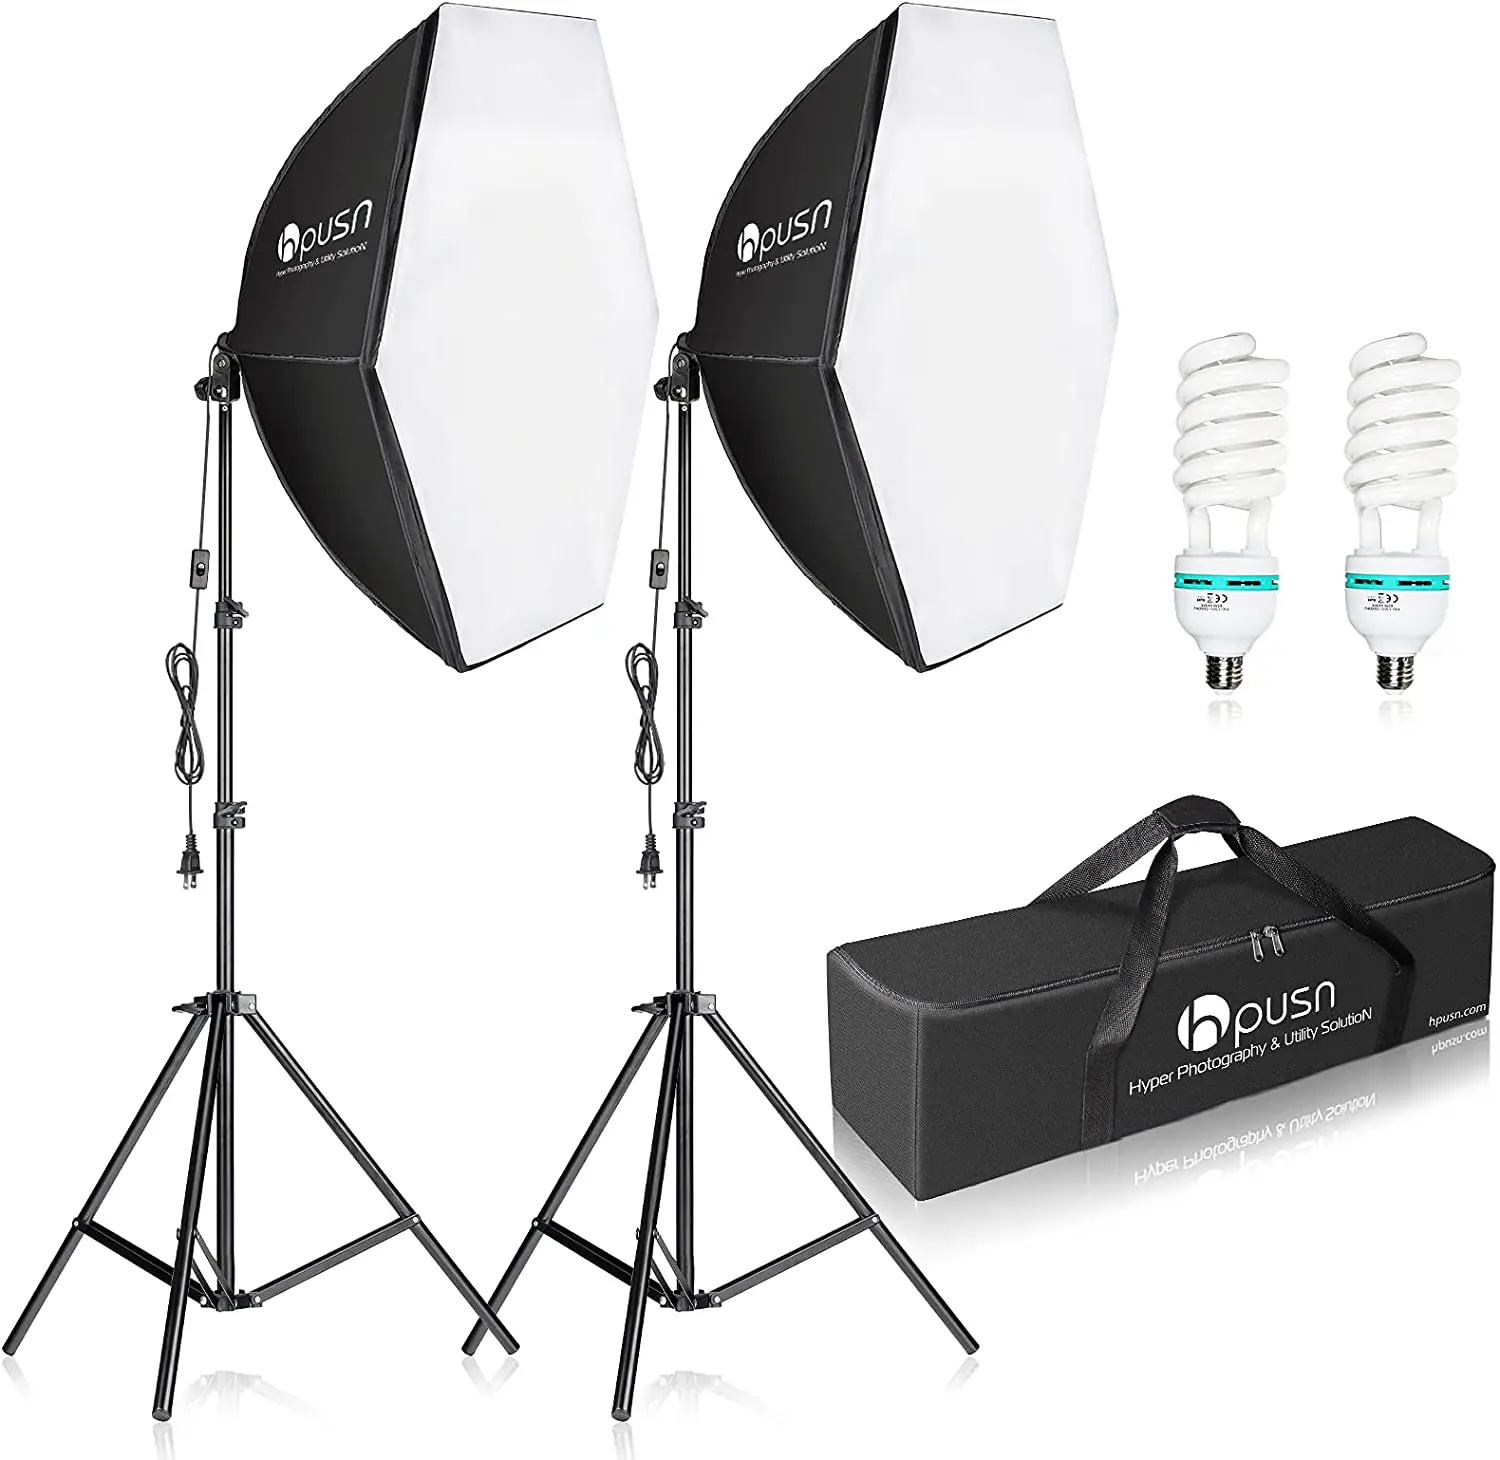
- A great lighting kit- here is a simple to use in-home studio lighting kit for you to check out- Softbox Lighting Kit
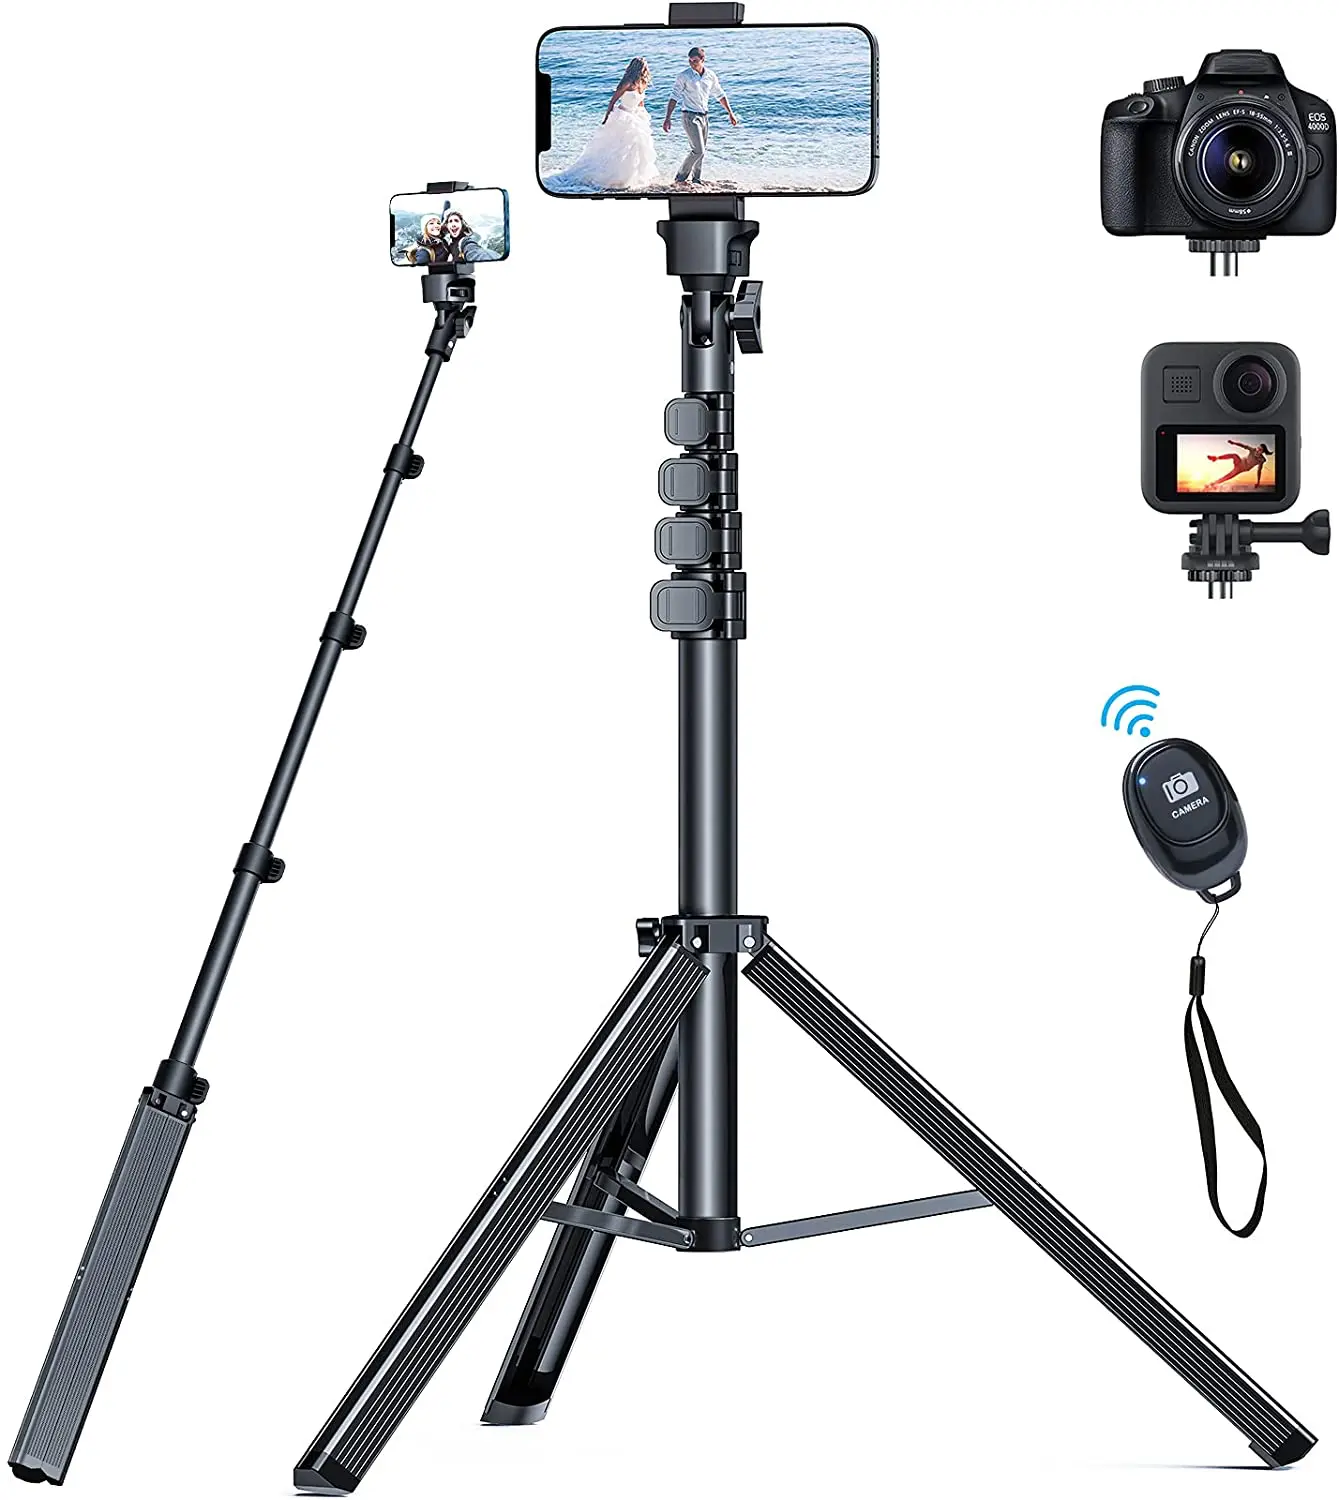
- Tripod + self timer accessory for steady shots. This will come in handy for providing consistency with your camera placement as well- Tripod with bluetooth remote- compatible with phones and DSLR cameras
Lighting:
Lighting is the ultimate secret to product photography, and you can do it yourself with simple techniques. Adequate lighting changes not only the quality of your photos, it can also be used to convey a specific mood for your product’s environment. Here are some examples of how light can cause a tone shift for your product.
For product photography lighting, the general rules of thumb are to keep your subject details clear, bright, and in focus. Your lighting should play a huge role in this.
If you are simply using a well lit natural light area, make sure the light reflects softly on your subject and avoid harsh reflections from direct lighting. Choose a brighter time of day if you are shooting with window light (around 8am-2pm) or later in the evening (around 3:30- 7pm depending on your location) for fully outdoor shooting.
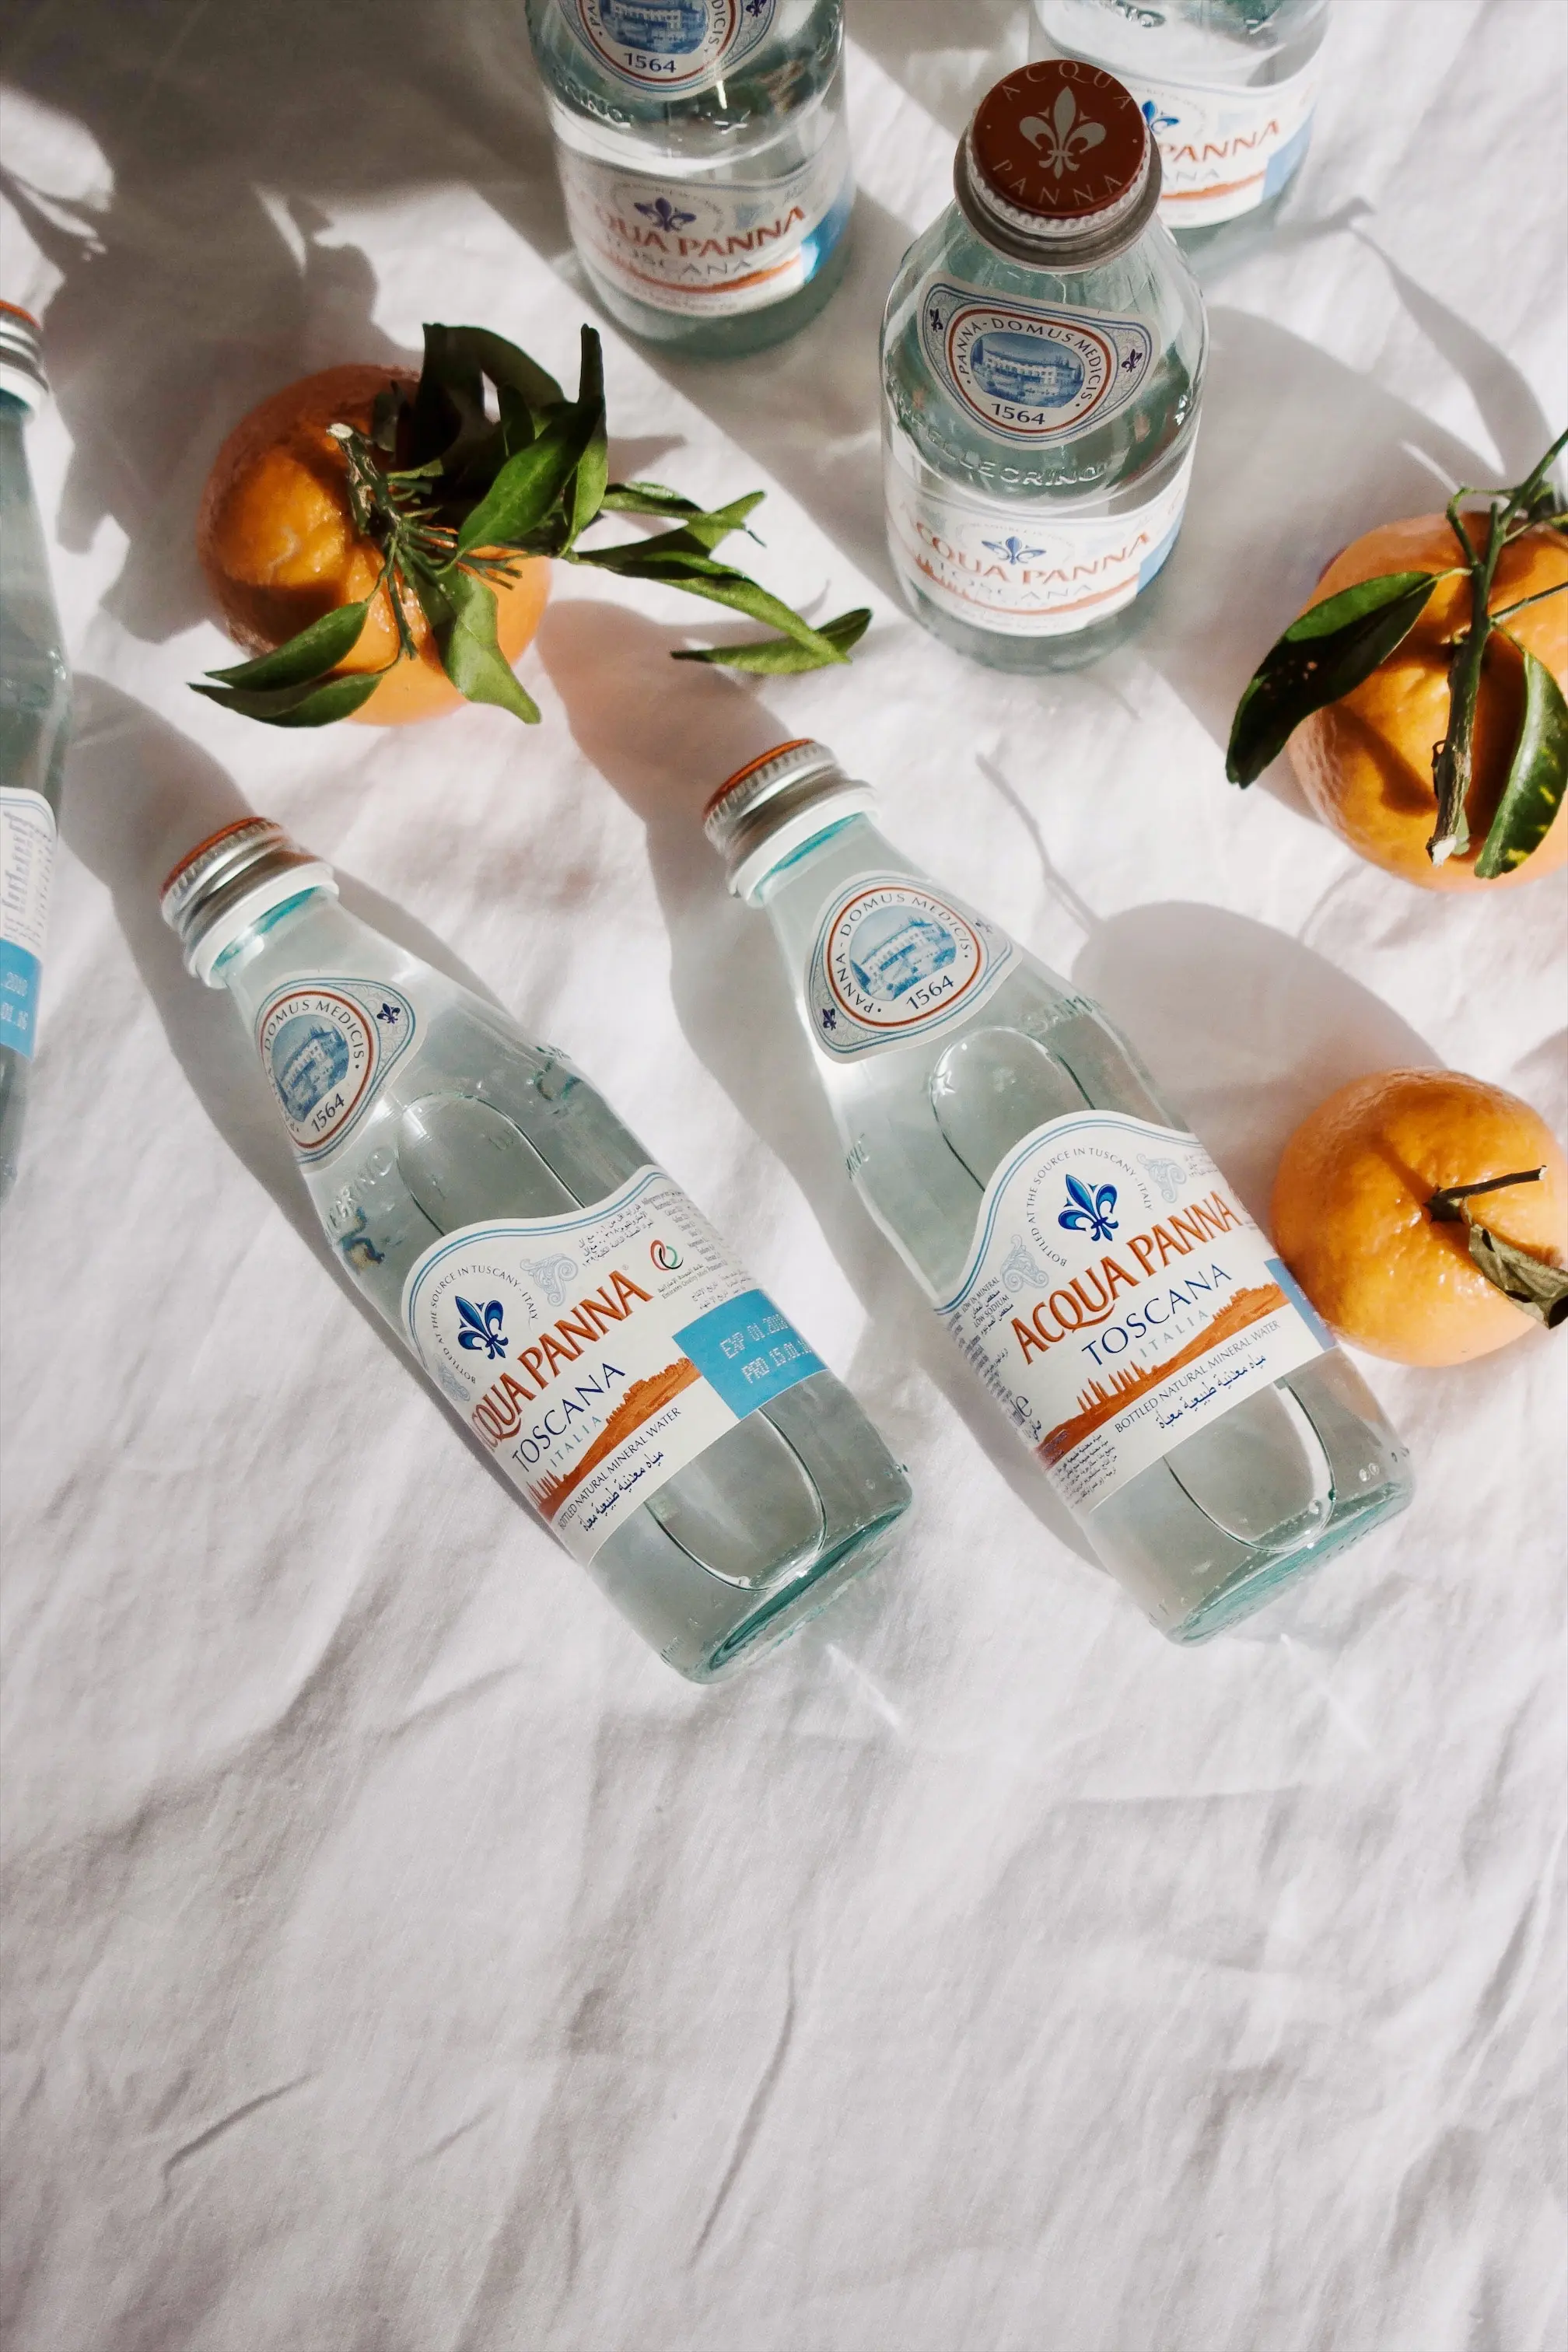
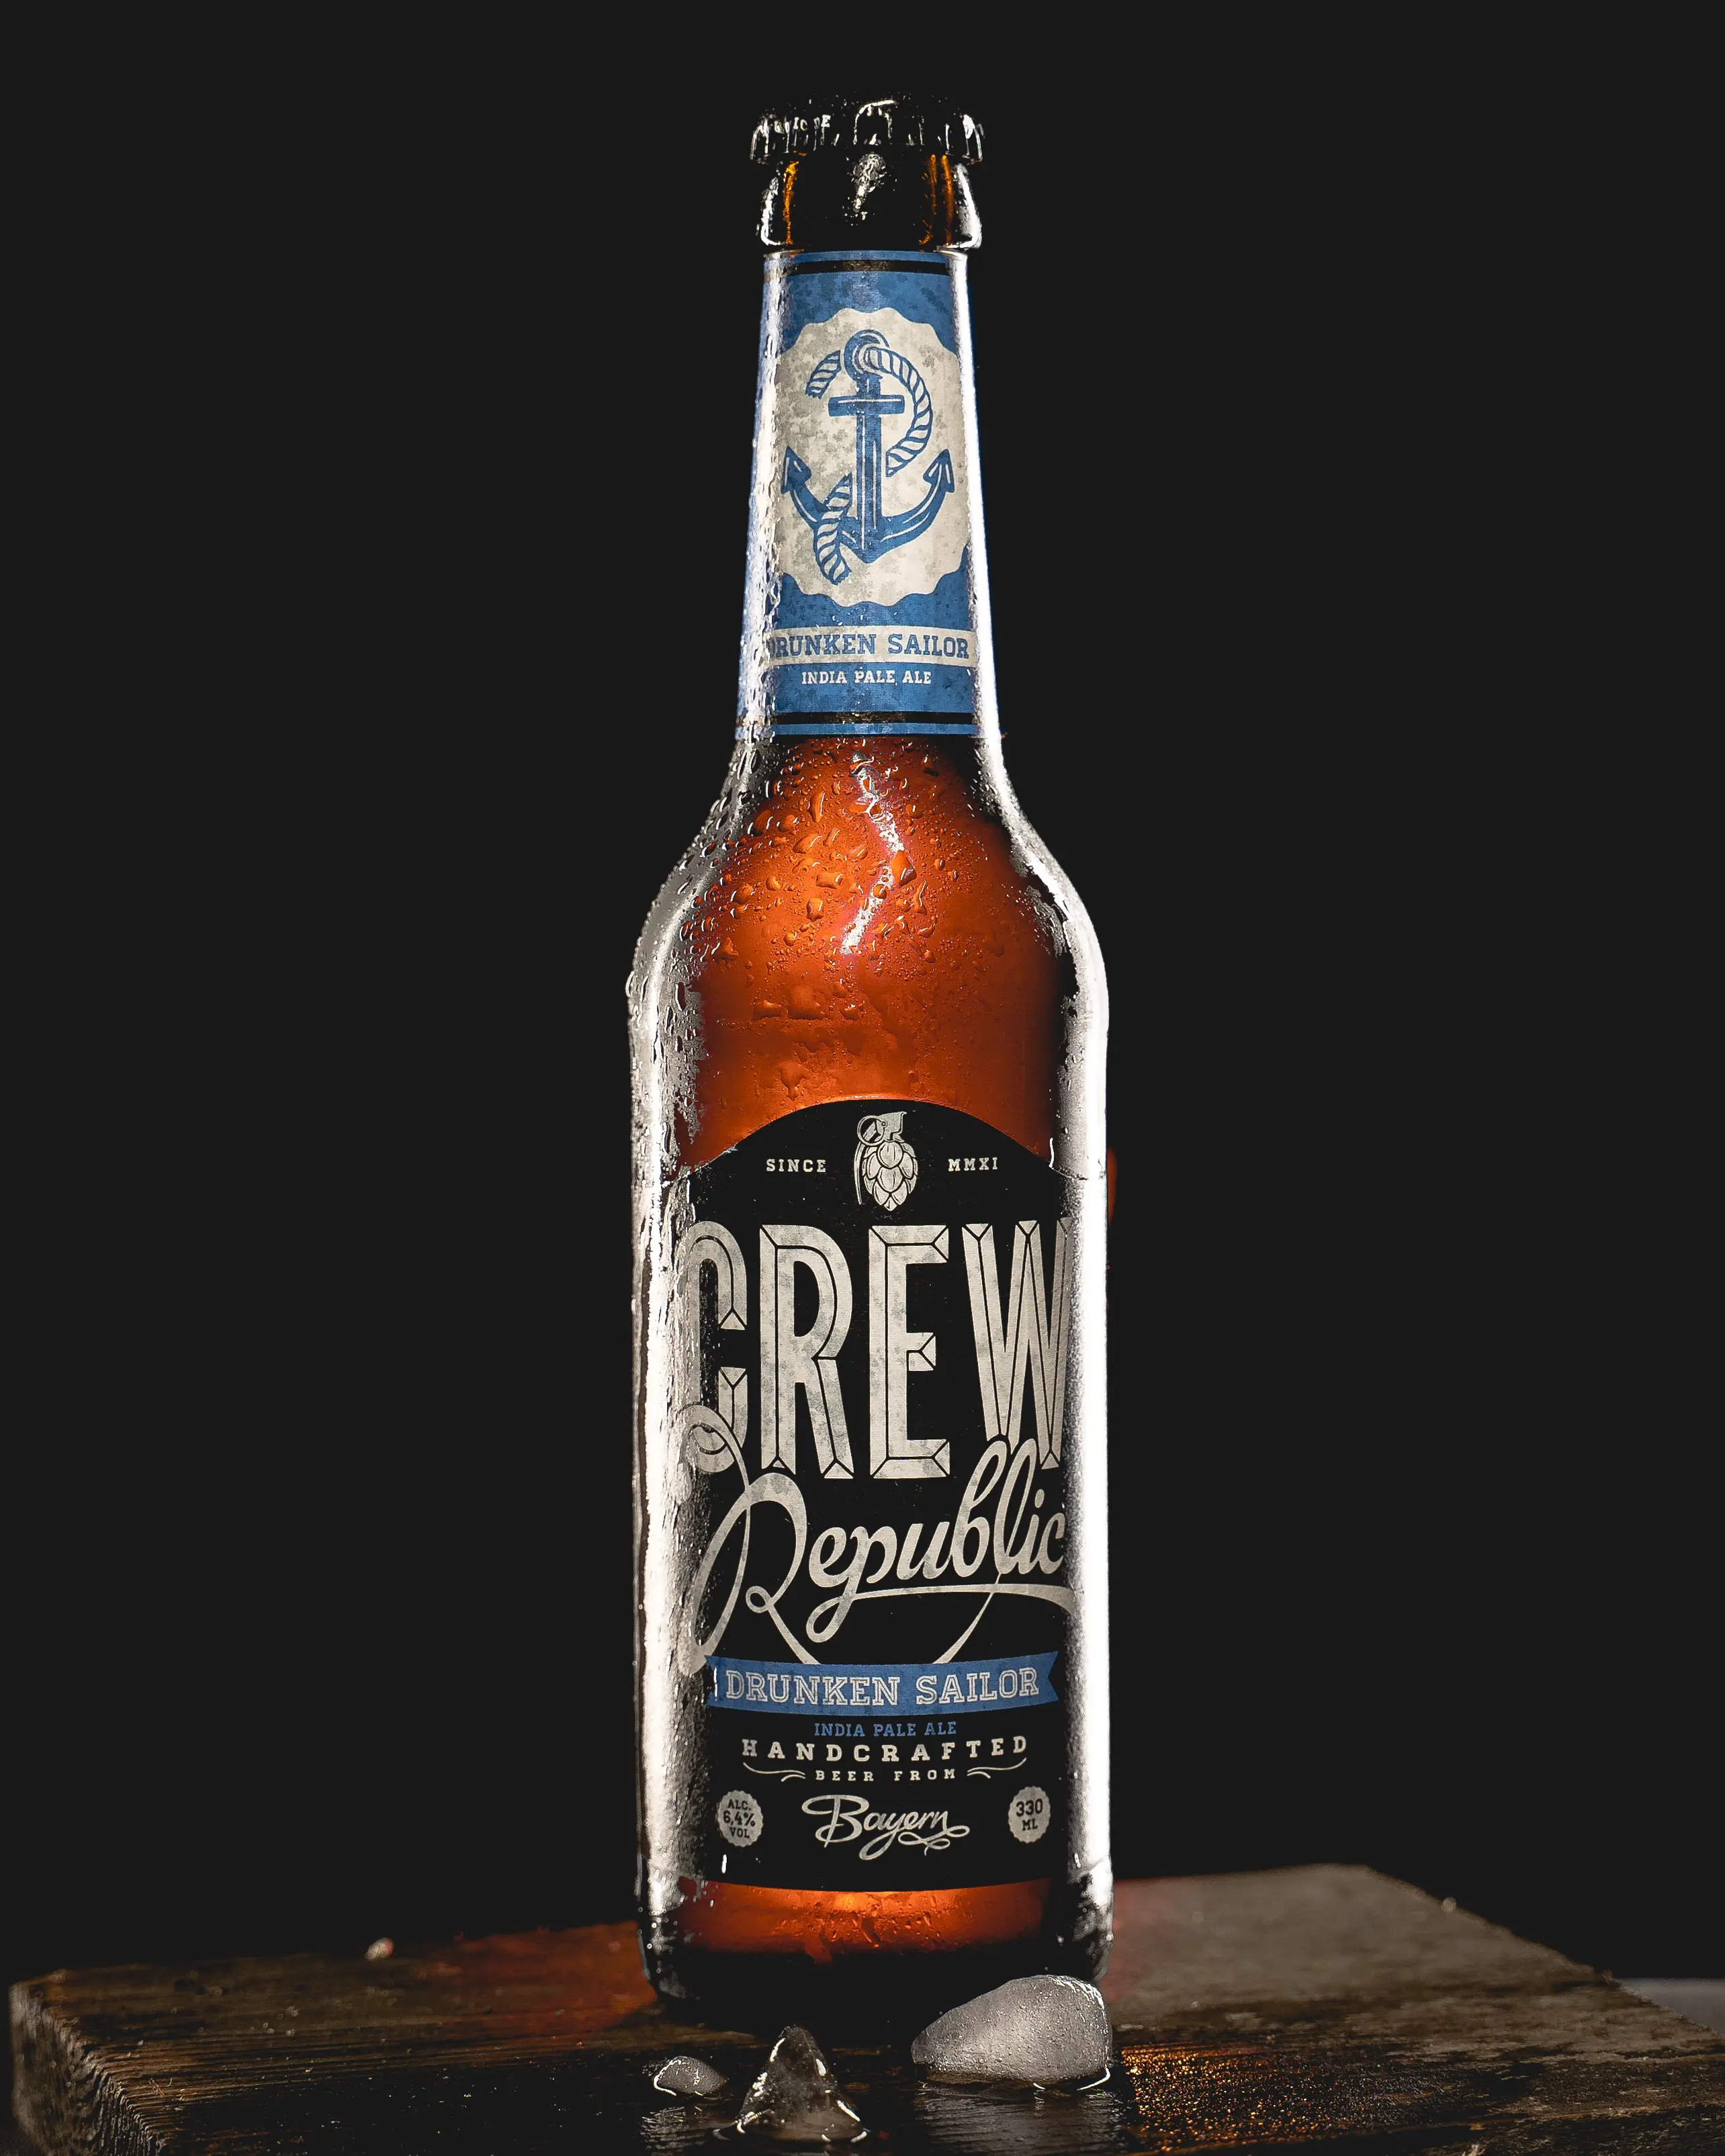
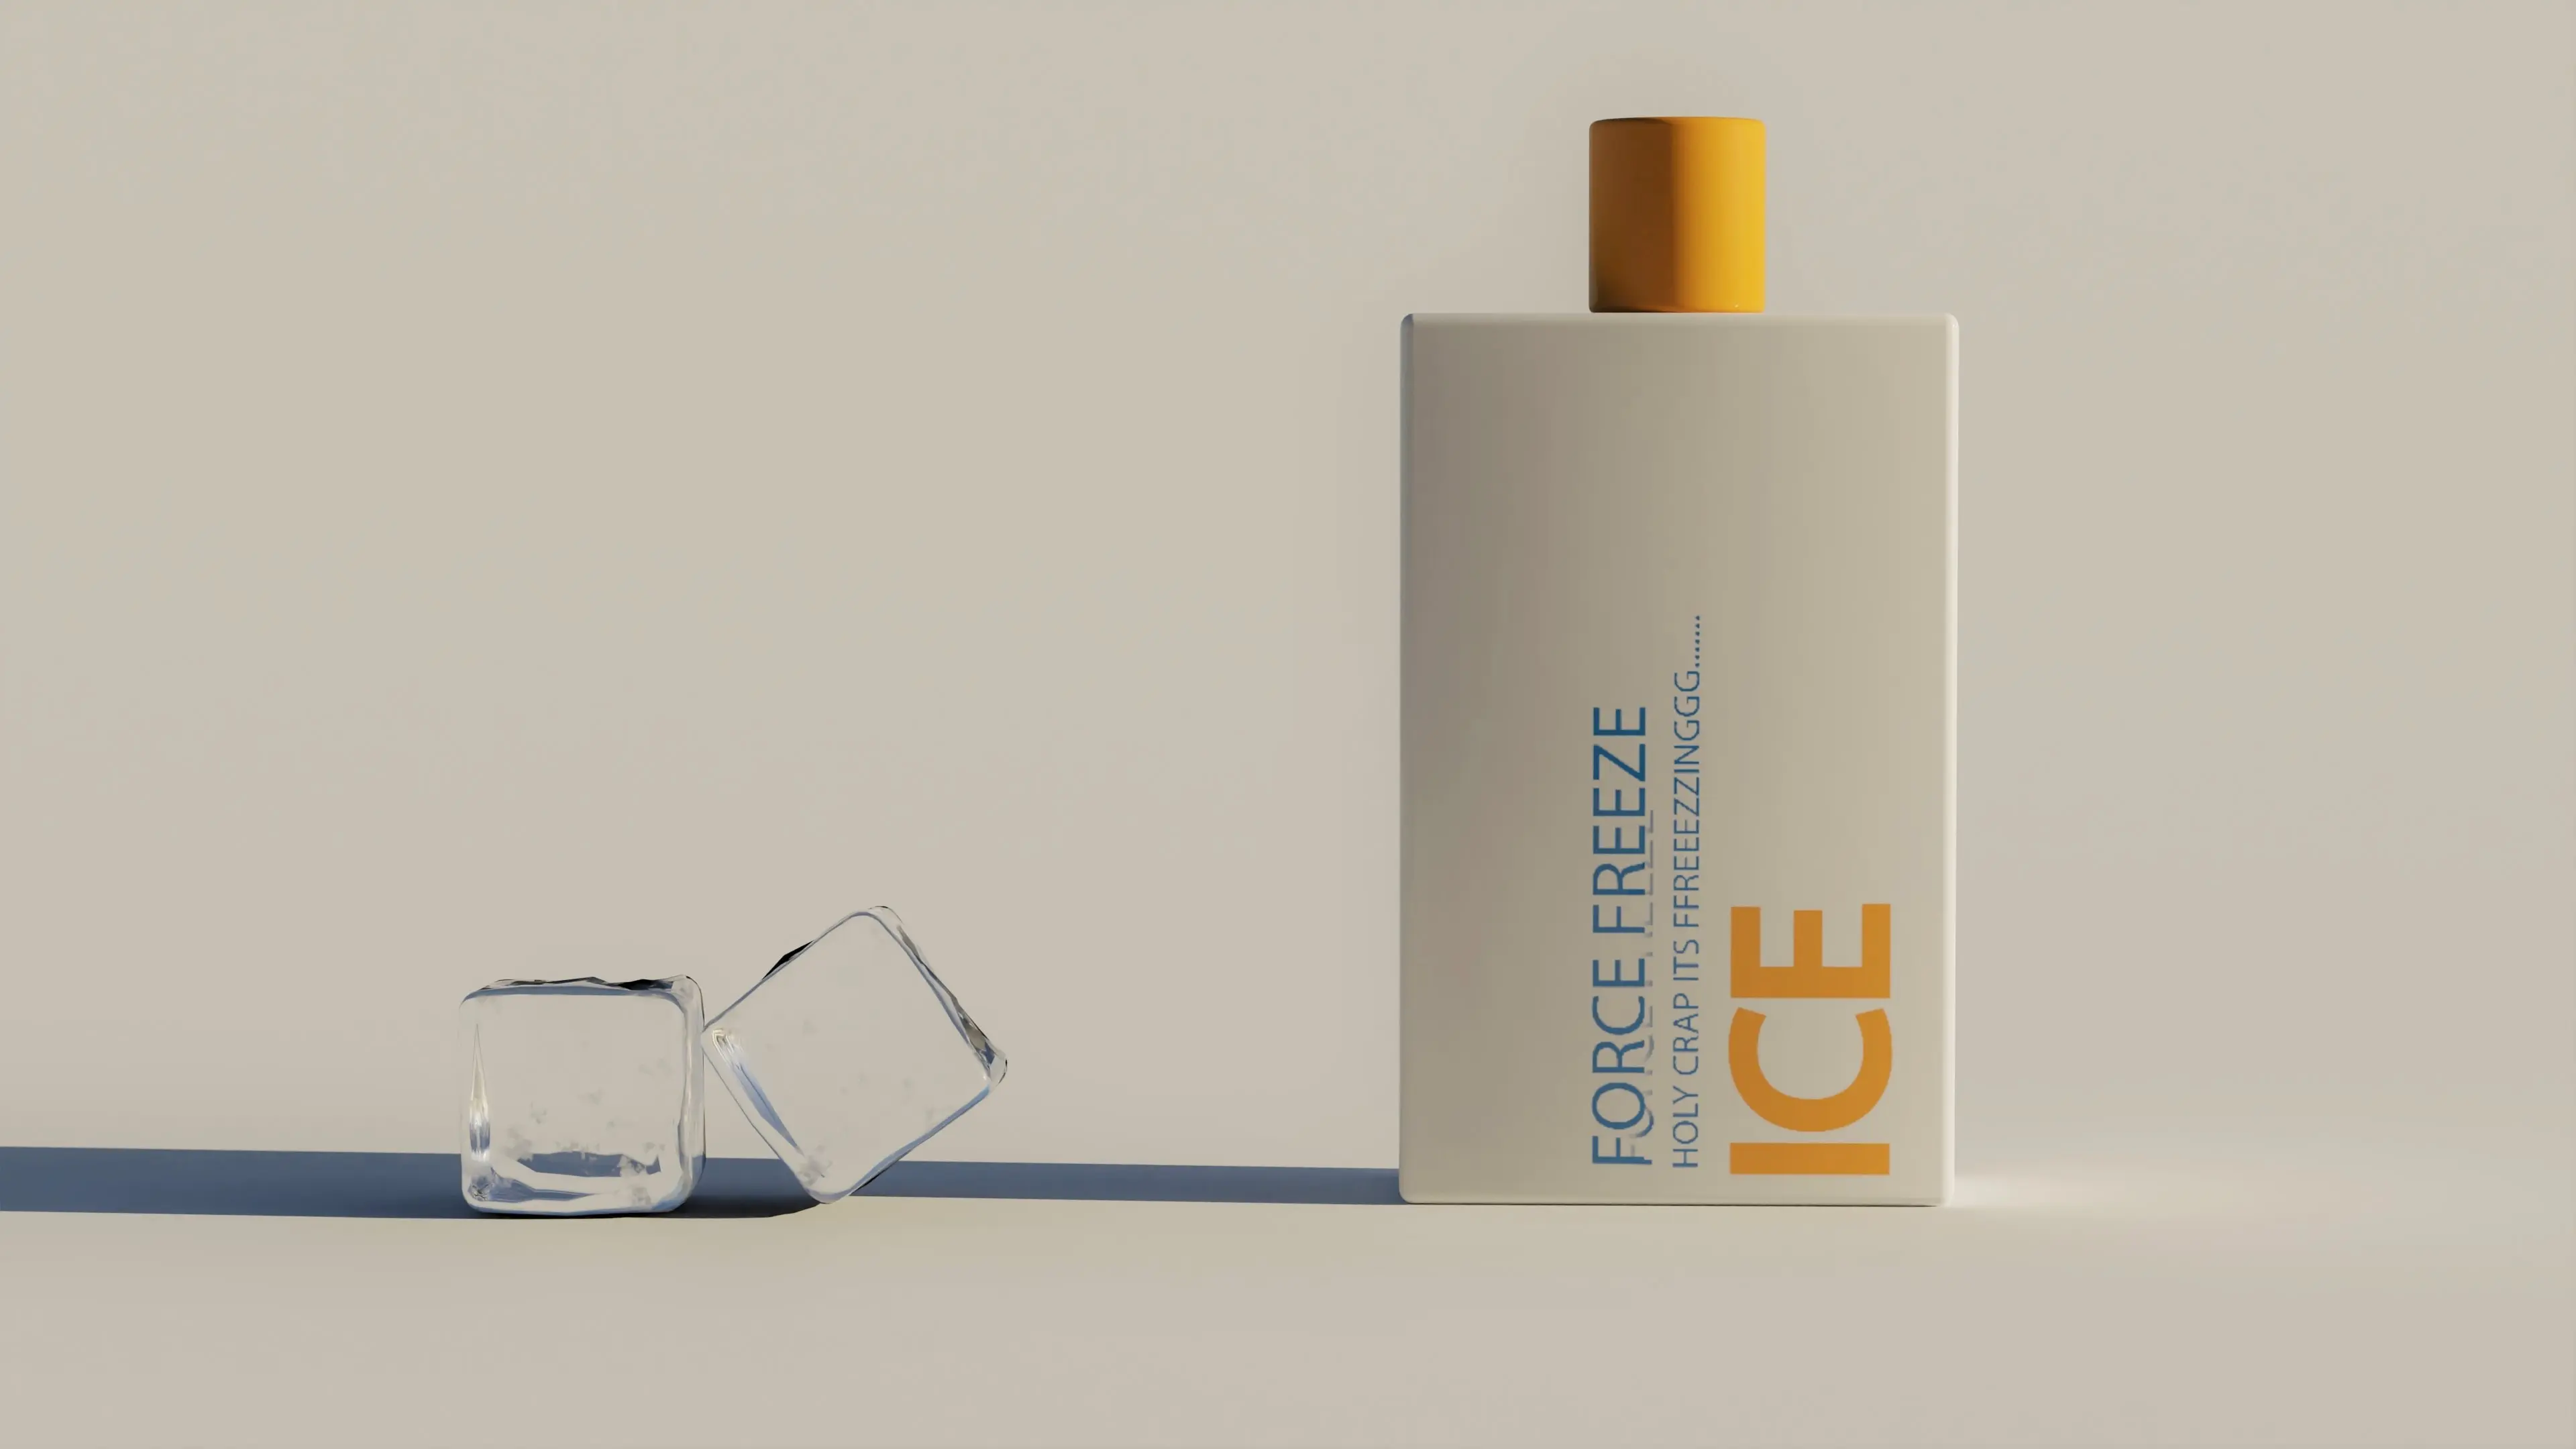
Here is an example of natural light being used to the subjects advantage.
You’ll notice the light is soft, interesting, and keep the product visible without washing it out or adding glare.
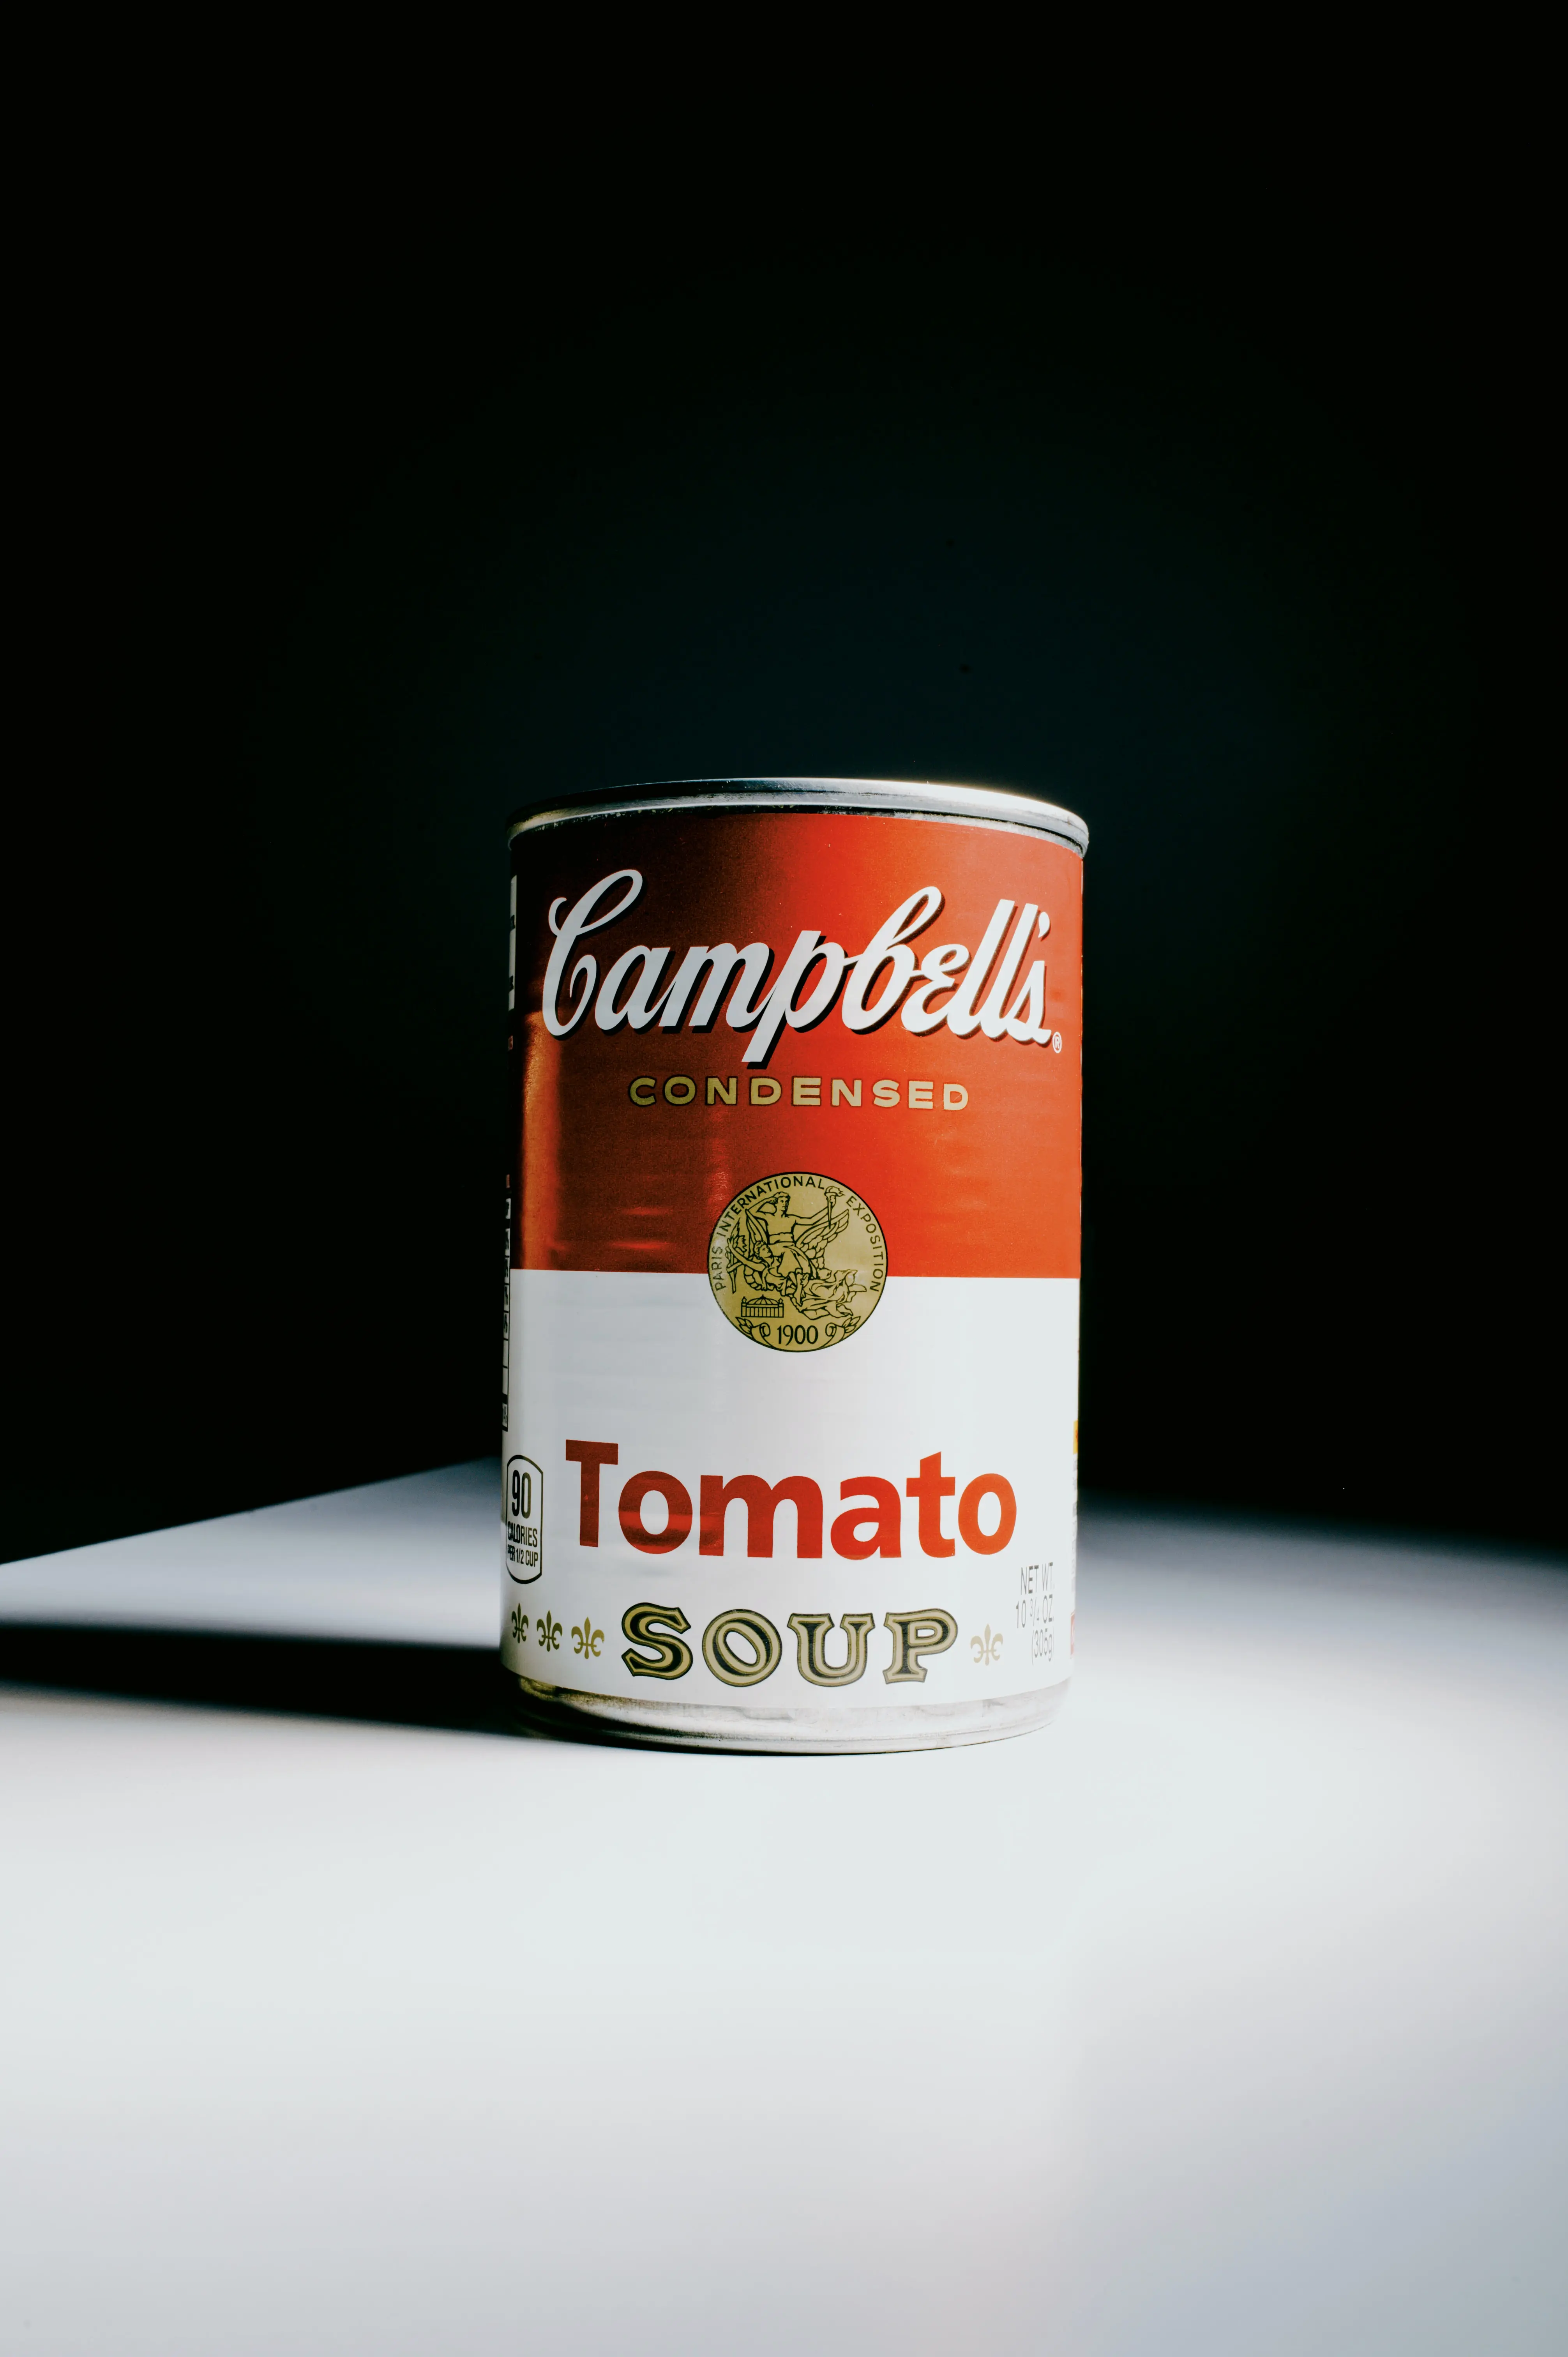
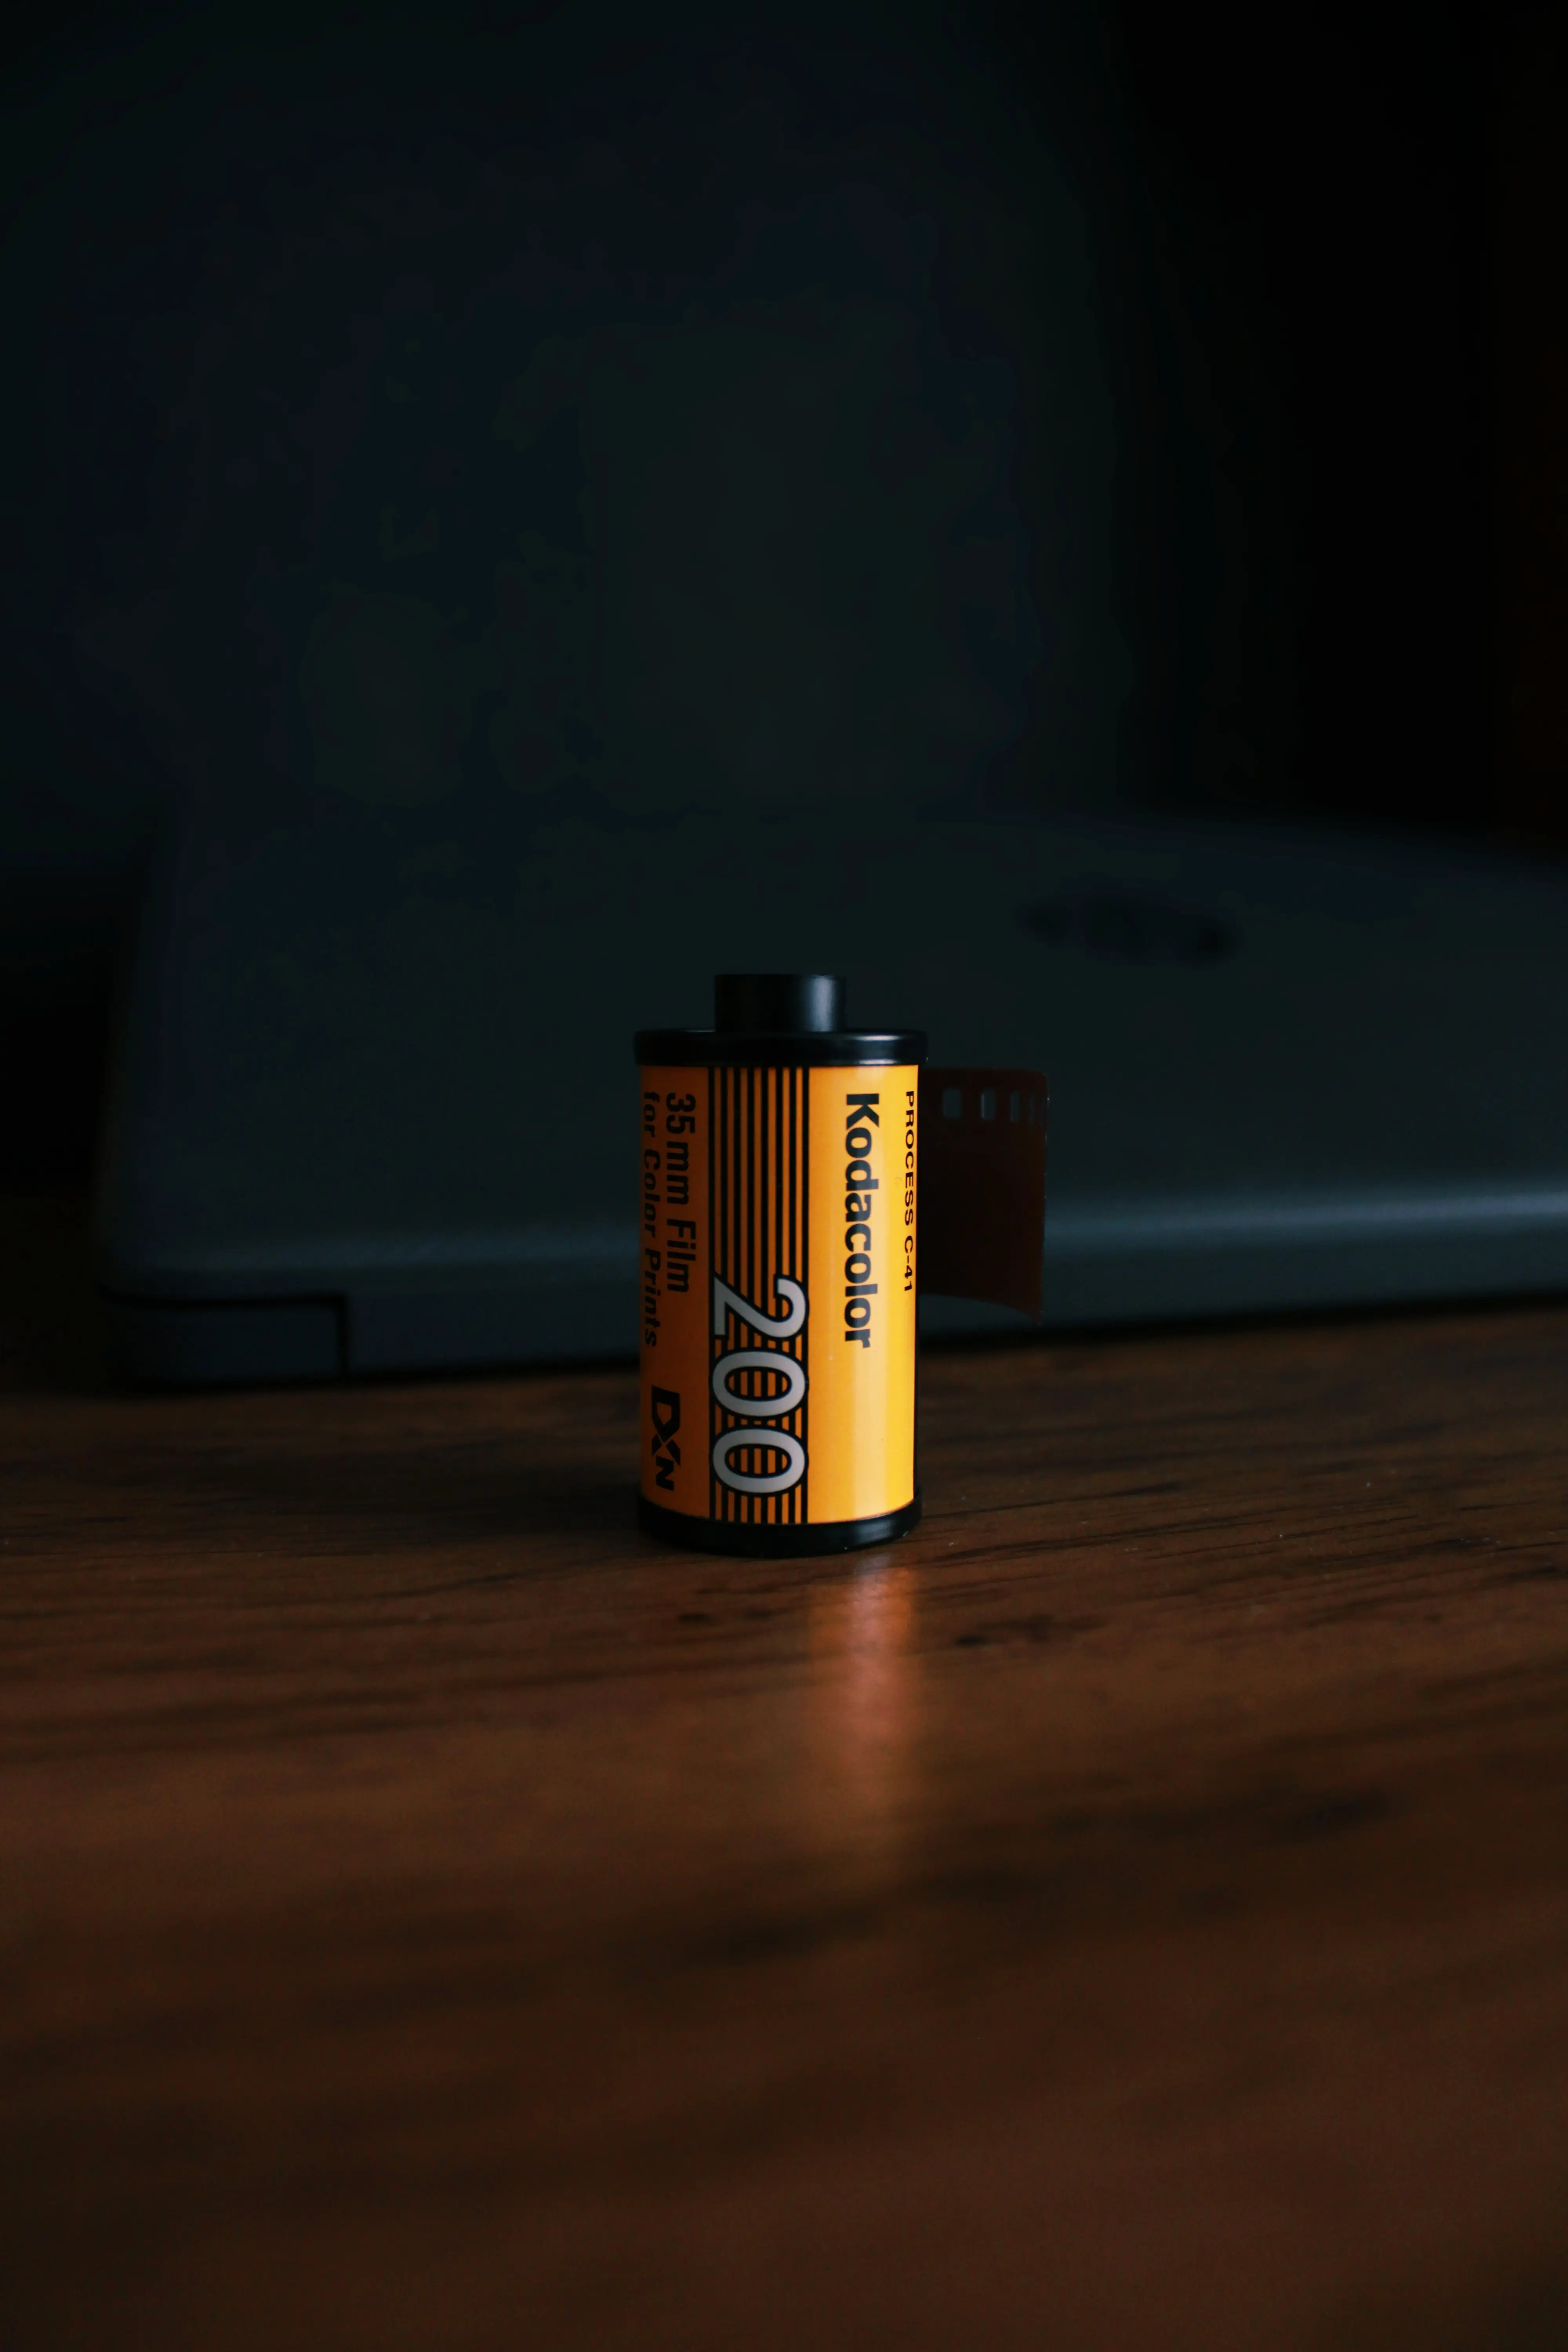
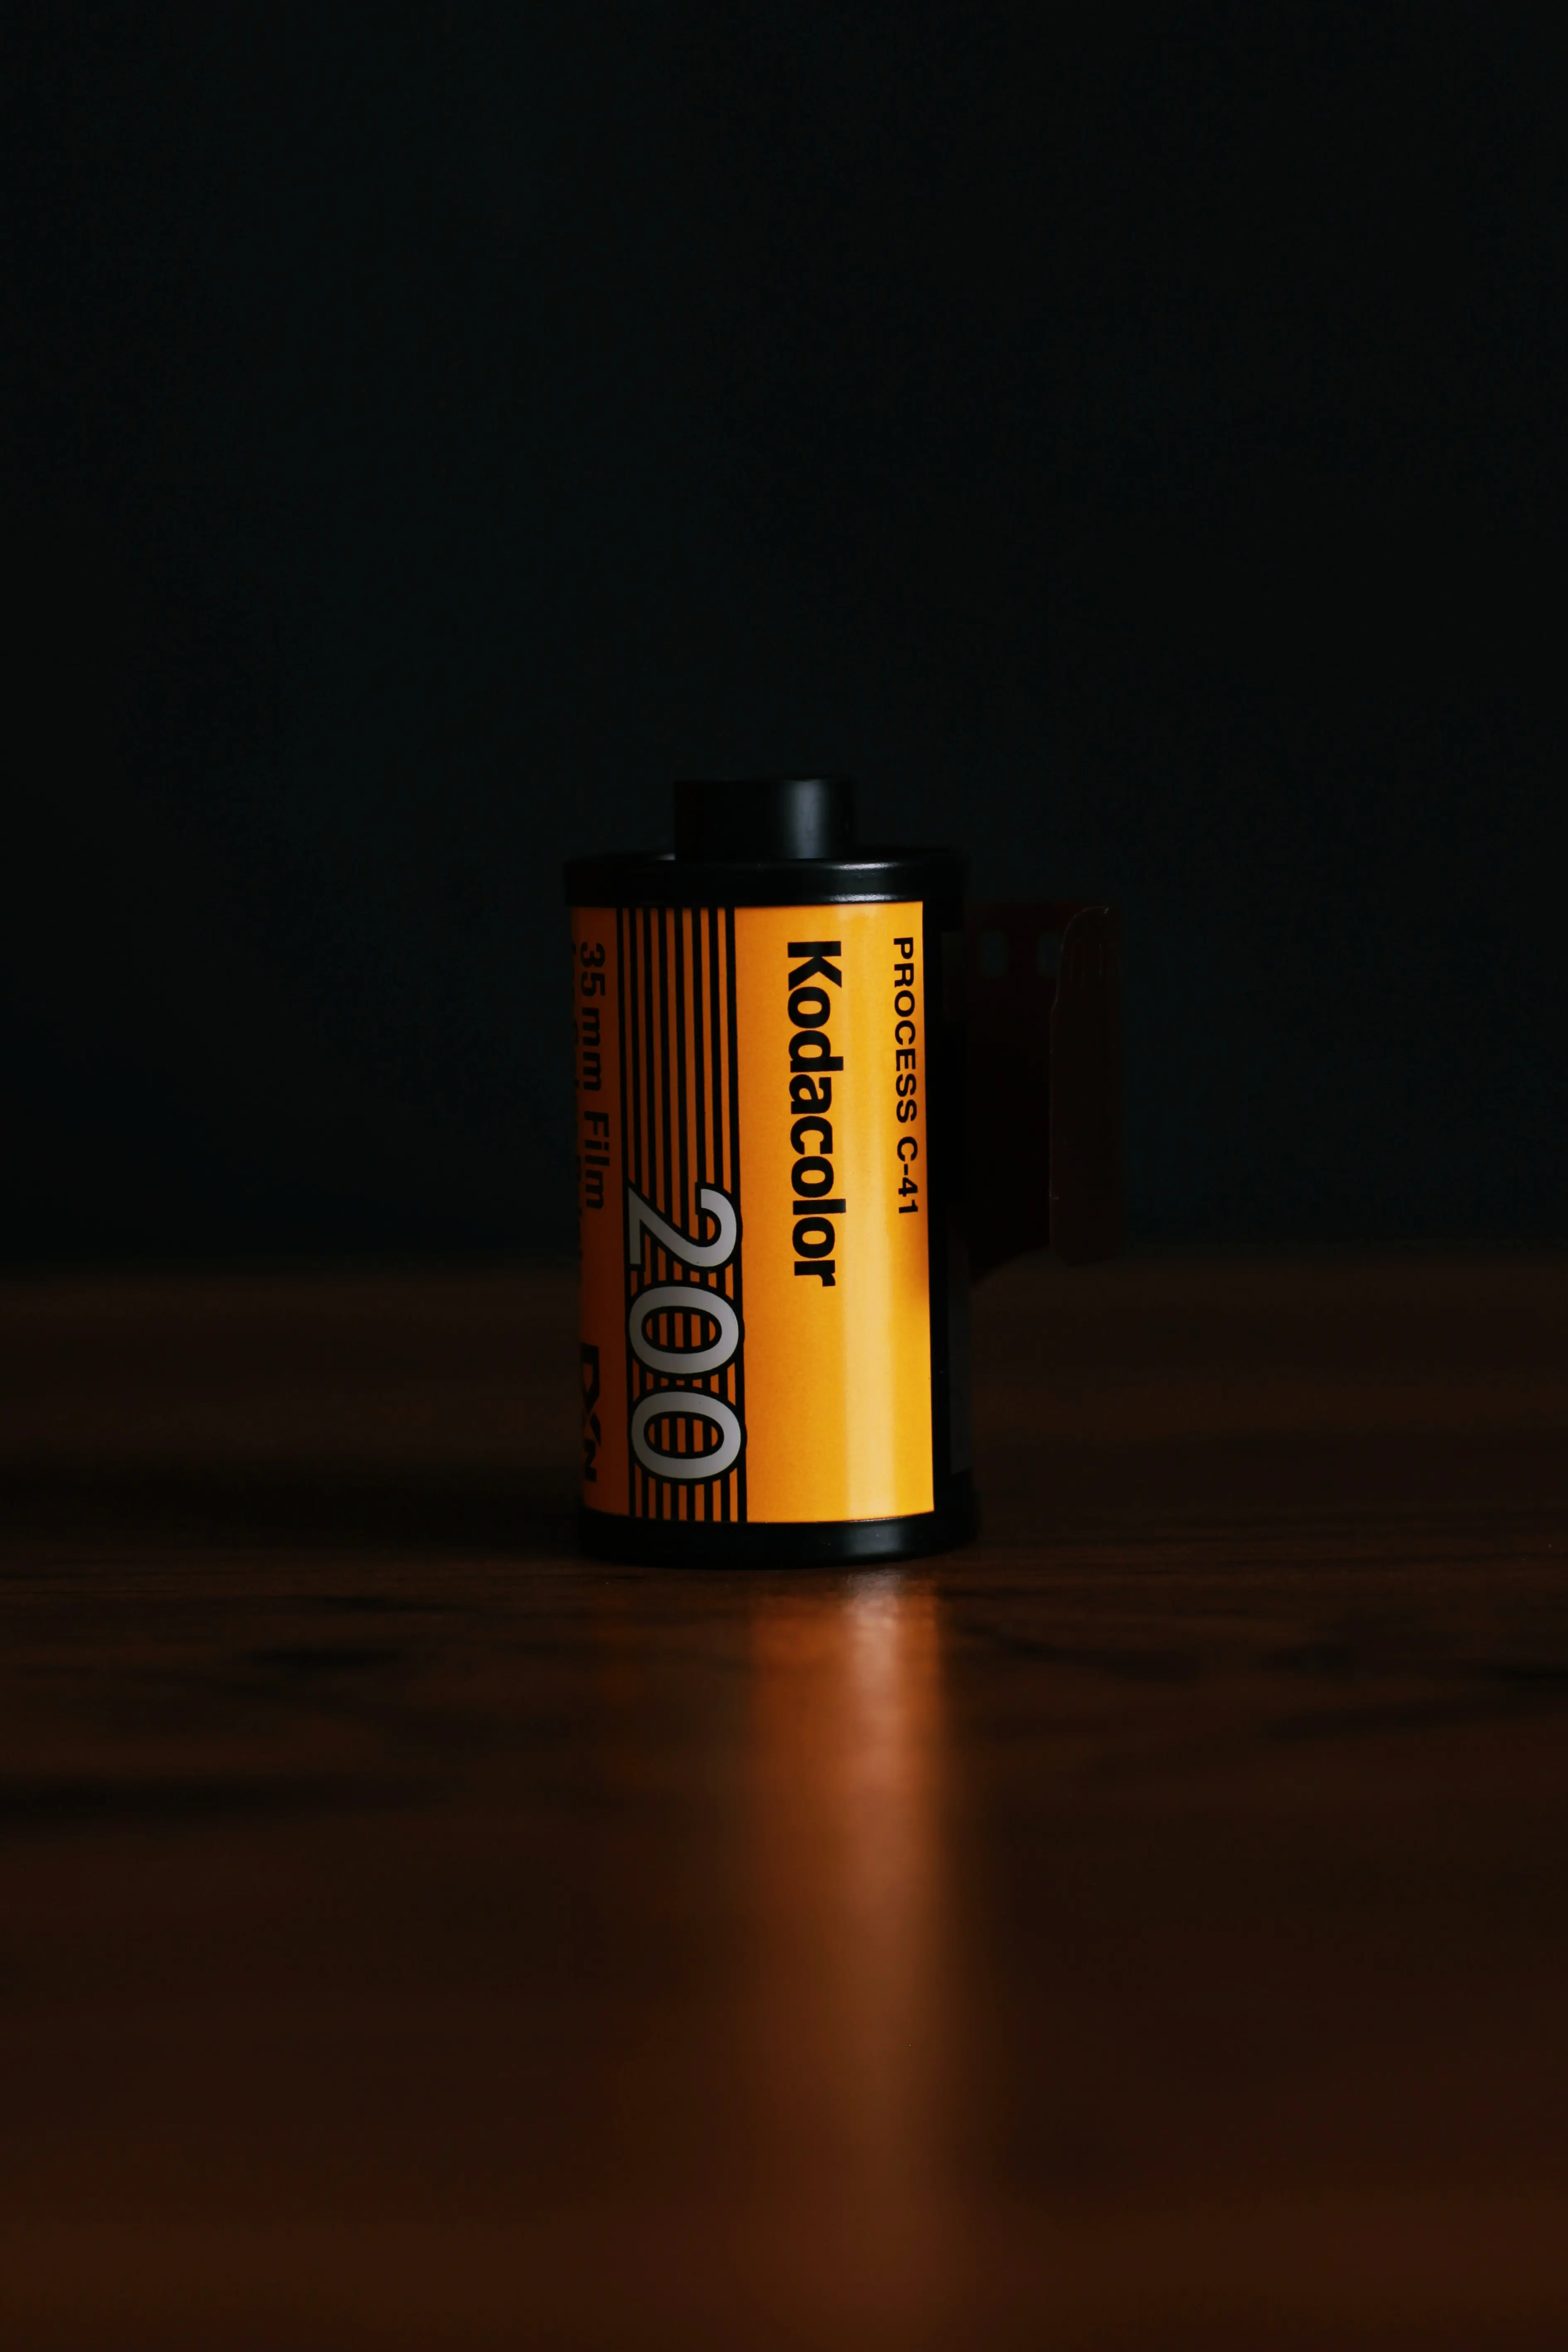
To oppose this, here is an example of a similar idea but using poor natural light, not paying attention to the object’s location/depth in the photo, and using a distracting background.
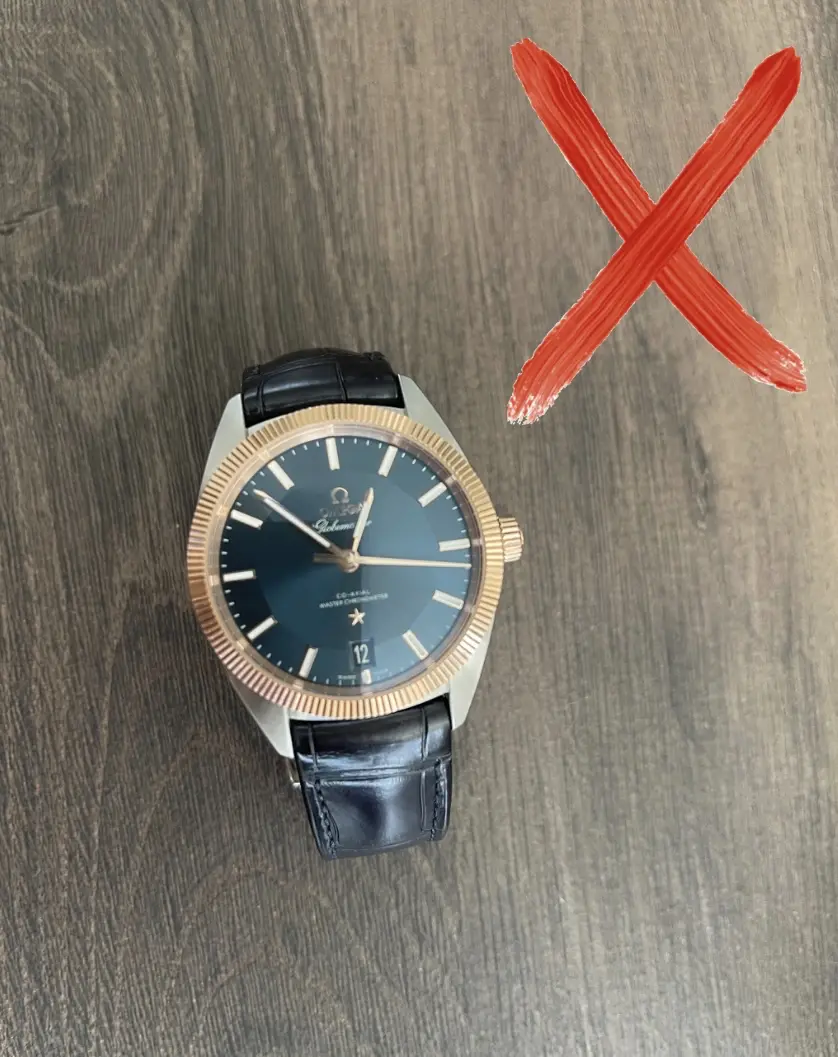
You’ll notice this photo just feels distracting even though there is less in the frame than in the other image. The glare of this lighting is working against the product and therefore causes a sense of distrust for your product’s quality and authenticity.
If you choose to purchase a light box or a lighting kit, you will have more control and flexibility with when and how you will shoot your photos. Be sure to have the soft deflector on the lights to avoid any hard effects of a regular bulb. Set your subject in the center of your background and use the lights to enhance depth and visibility on the product. Here is a great example of where you should be directing your light to the subject- Shooting a Bottle with ONE Continuous Light and a Smartphone
Choosing a background: Simplicity and brand cohesion
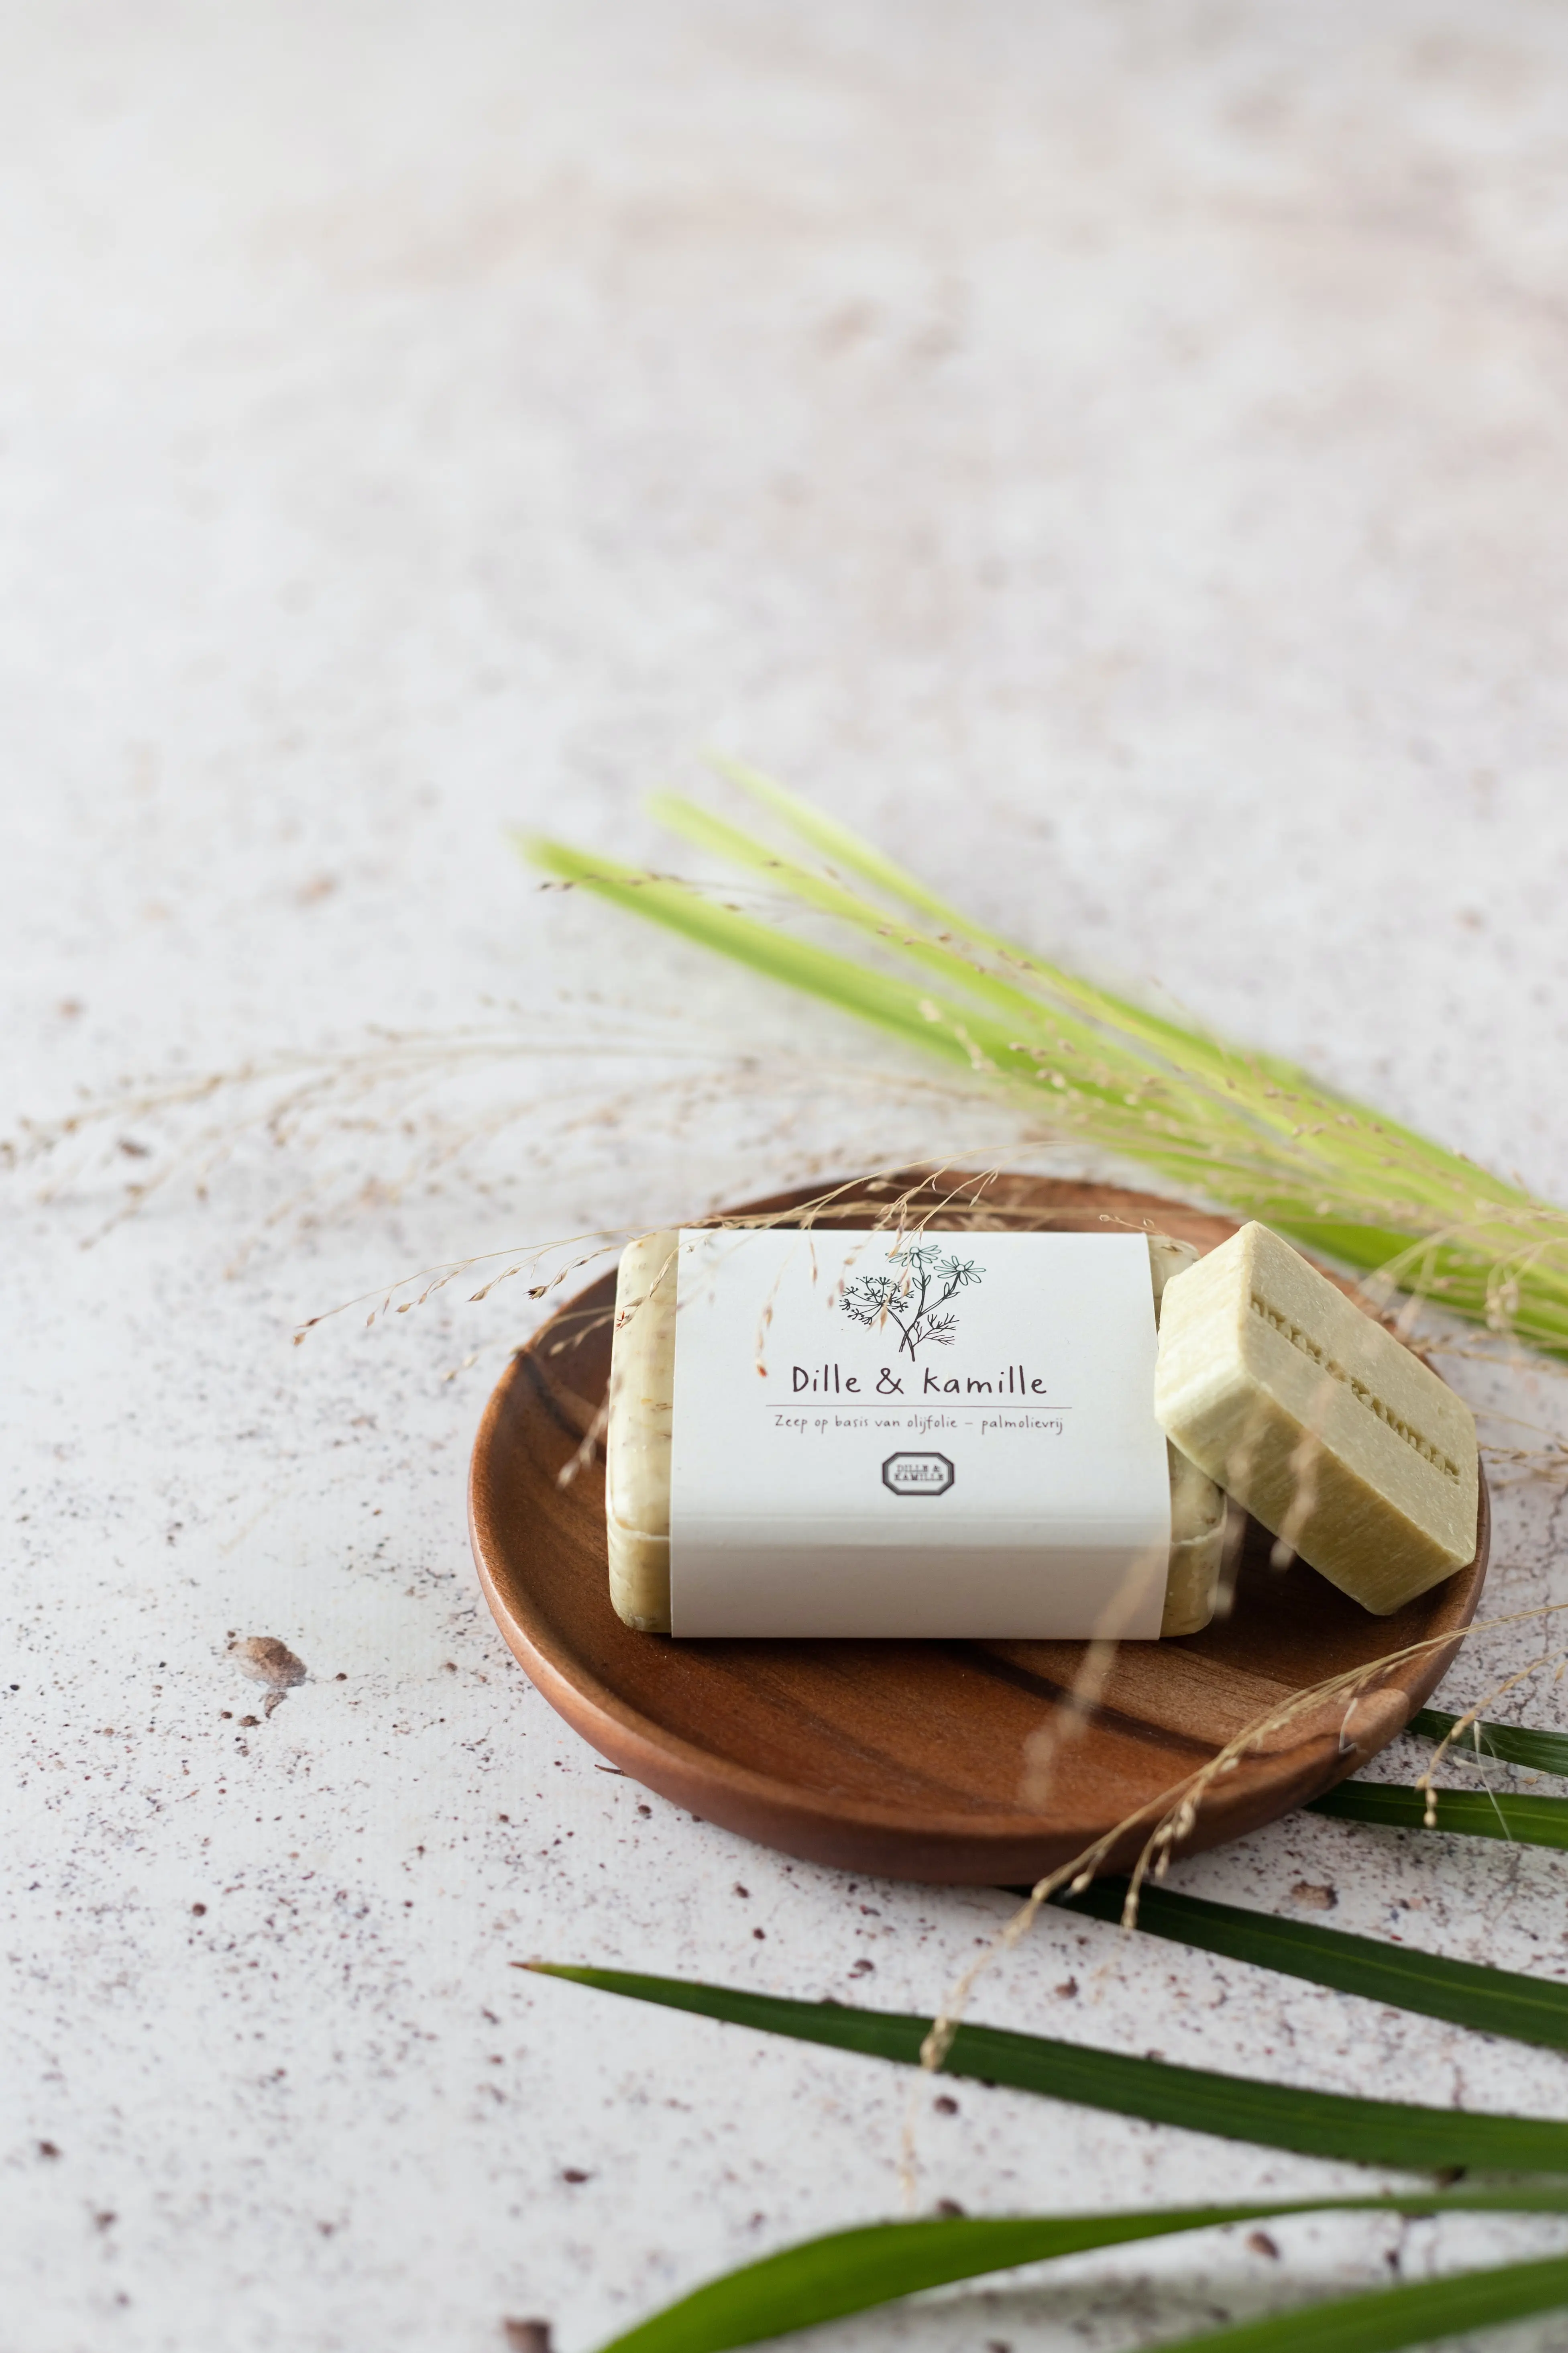
In order to get this look, you will want to form a box shape around your subject using a very simple, soft color like this:
This box shape will help create a standout “space” for your product to exist alone as well as diffuse light on your product. Since these photos will be used for your webstore and potential contests, stick with keeping your product centered and with enough space around it for cropping. For example, the image above is perfect for marketing, contest pages, and social posts and it also has enough space around the subject to look good if it gets cropped for a thumbnail.
To get the best angle for a centered shot, set up your tripod on turn the grid setting on your camera so you can ensure your product is in the best frame placement. The grid can be turned on in your photo settings.
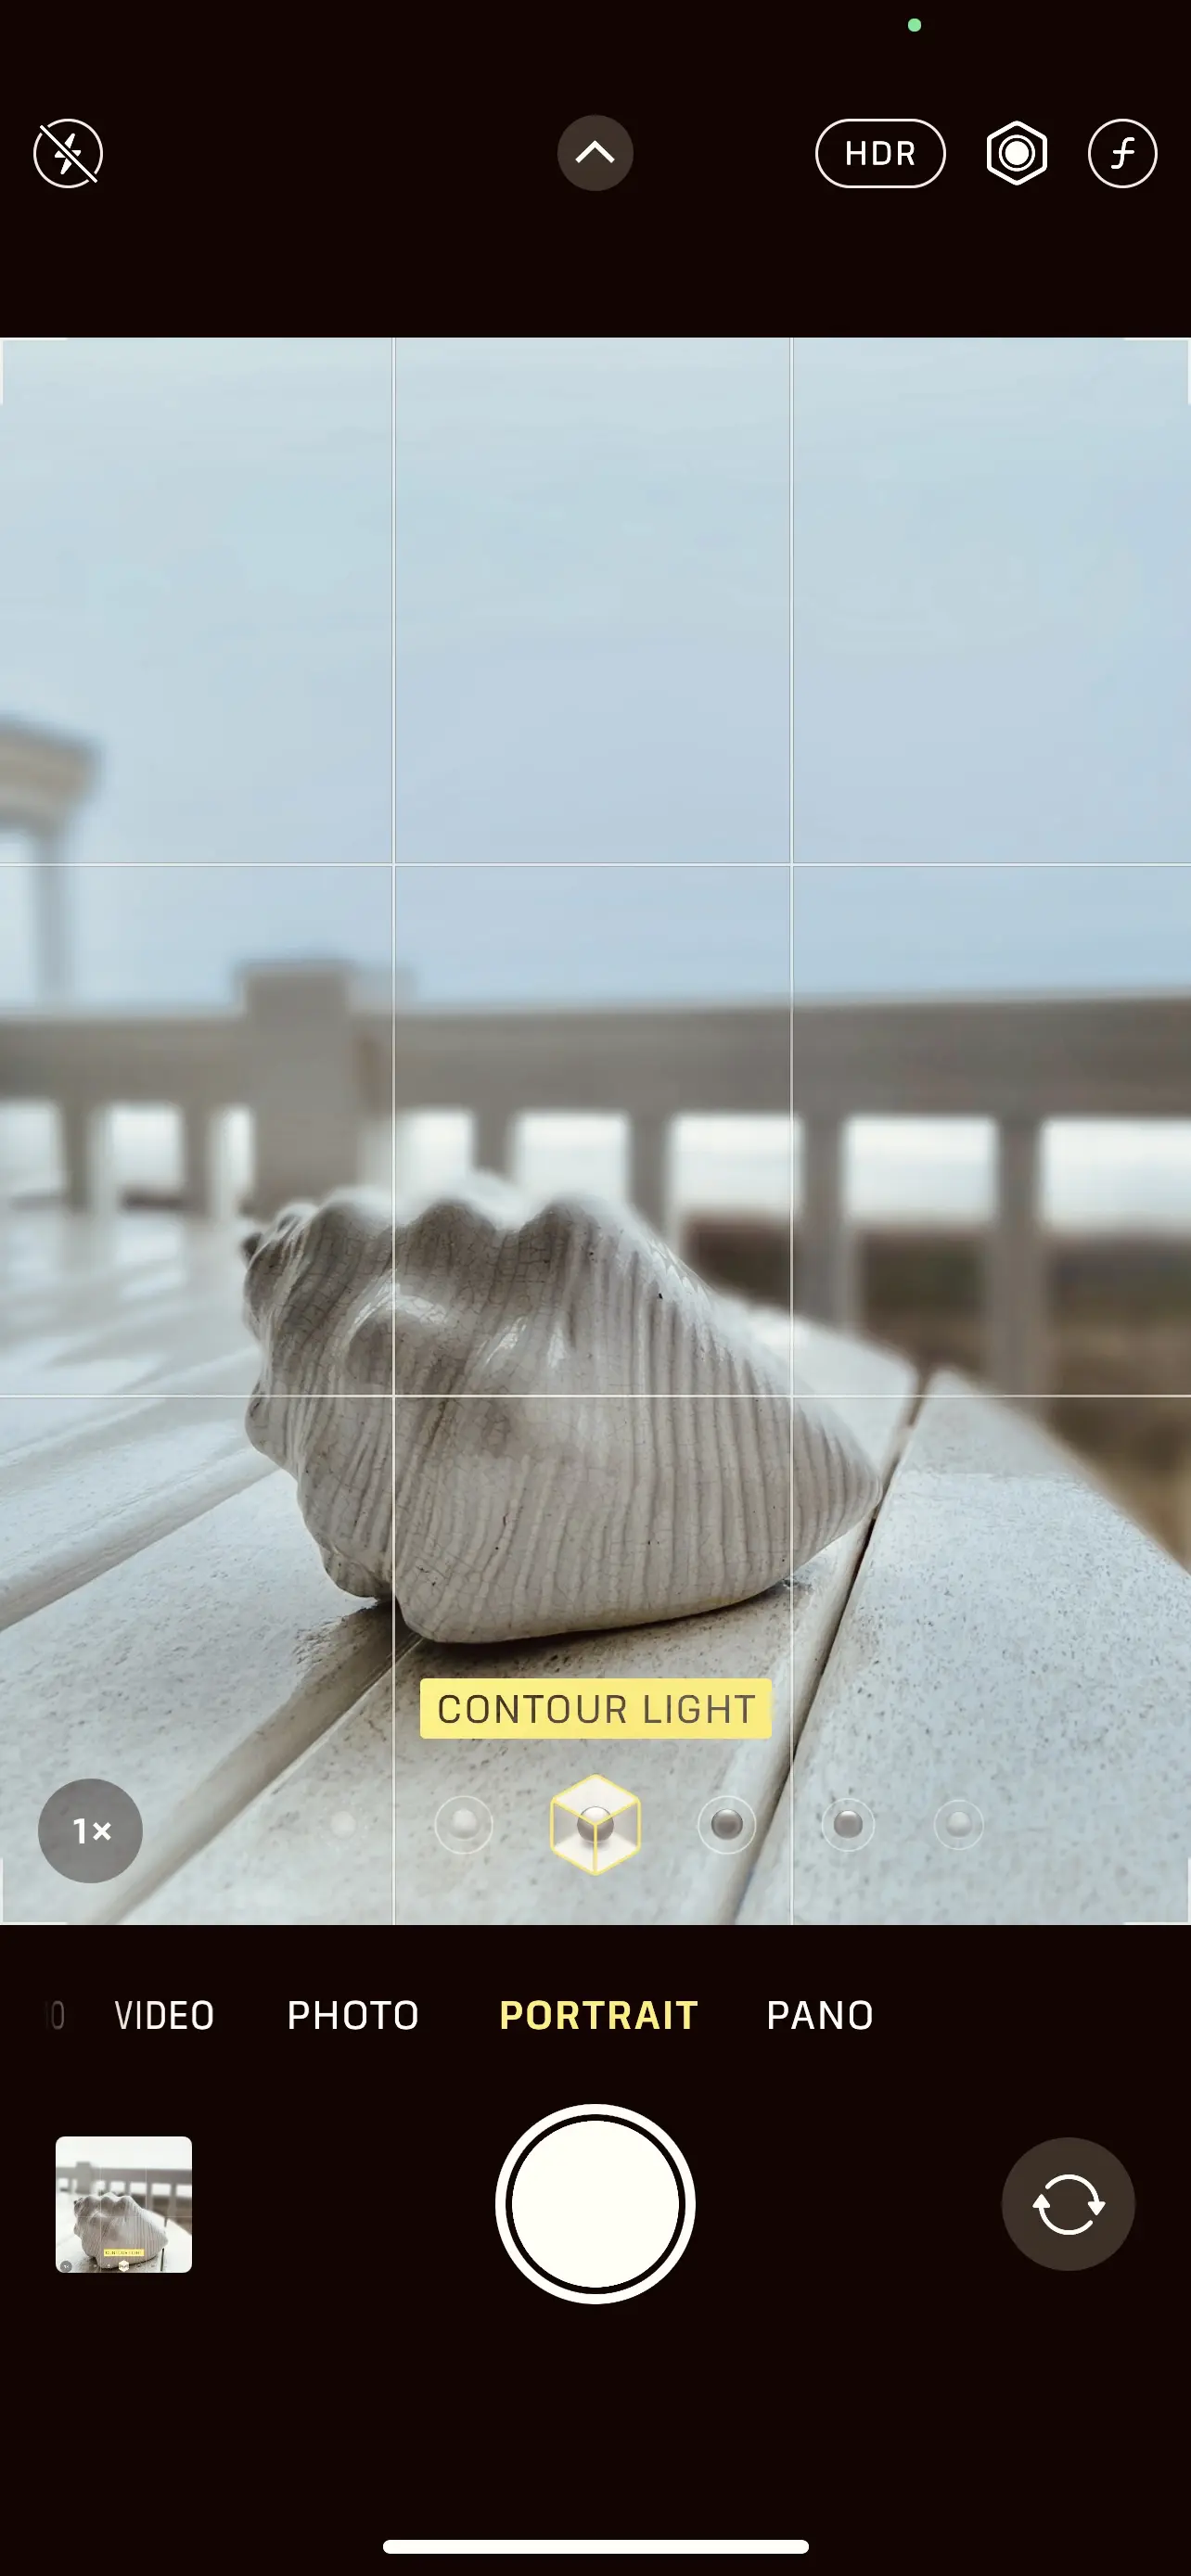
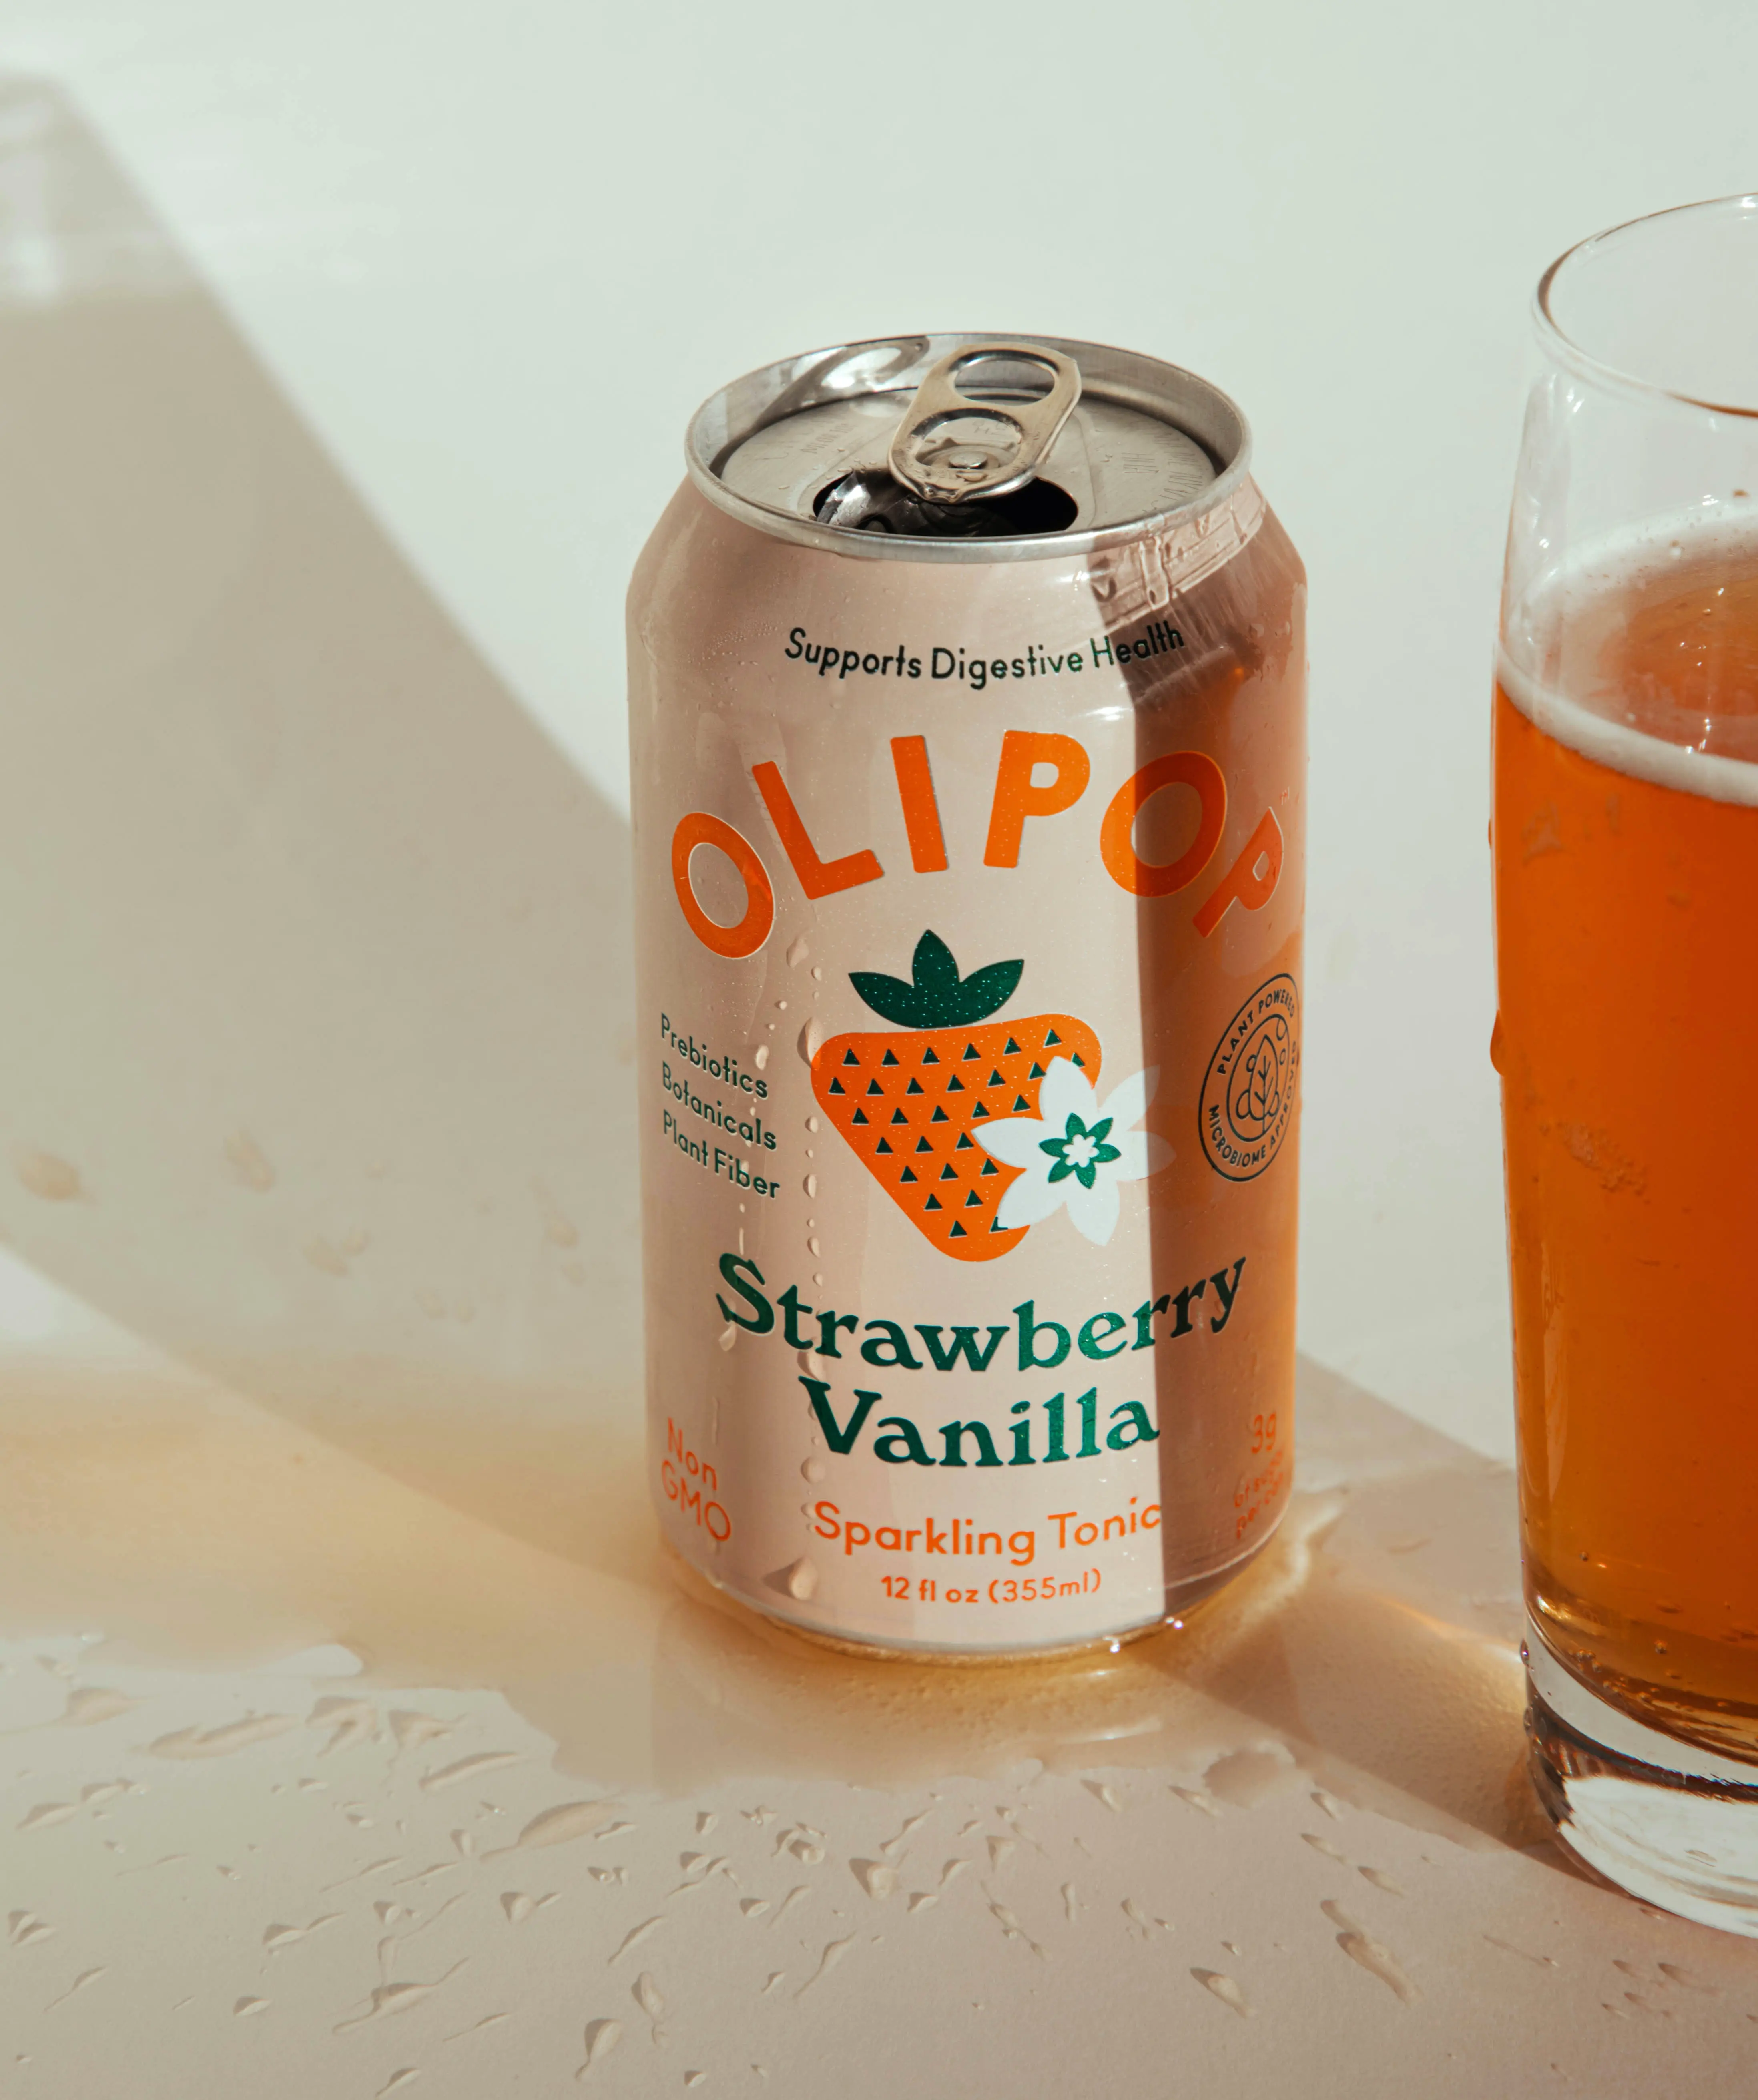
White space is also something to look out for. The more detailed the focus is on your subject, the better. These images below are both pretty good photos but the second one is more stand-out and professional visually.
You’ve got your photos, what next?
Time to edit. The best thing to do is create some kind of brand consistency, so whether you choose simple natural edits or a preset, stick with it every time.
You can, of course edit your photos within the camera roll editing options, however- downloading an app to save preset edits will save you time and make brand consistency just that much easier.
Here are some great general photo editing apps to help you easily generate consistency:
- For simple, trendy, and customizable presets straight from your phone to multiple photos at a time, tezza is a go-to. They have a free option or extra customizations with the paid plans for less than $4 monthly.
- Lightroom mobile app- not as customizable as the full Adobe Suite desktop version but it can store your favorite presets, categorize and organize your photo collections, and give you flexibility to quickly make high quality micro changes to your photos. You will need a Lightroom account for this.
- Picsart is a fun editing tool you can use to add some creative effects to your photos. It is not the best for easy copy and paste edits, but it can be used to drop logos and add layers to your photos to spice up the website graphics you may want to add to your KickoffLabs campaign.
- To easily remove backgrounds with a quick touch- Pixelcut is a powerful mobile tool. You can also access this feature with tools you may already have such as Canva. Here’s some quick advice to removing backgrounds on Canva: Remove image background - Canva Help Center
If you shot your photos in RAW format on a DSLR:
- Lightroom and photoshop in the adobe suite for desktop will be your best friends. They can be purchased as a bundle for $9.99 a month. These platforms allow dropping purchased and custom presets in a quick and easy way while giving you the editing power of a professional. RAW files are much larger than regular jpg photos so you can change a lot more when it comes to your exposure levels, but be sure to save the final product as a .webp or .webp to properly upload them online.
Overview:
What you absolutely need:
- A quality camera
- A light source (or a few)
- A backdrop or studio box
- A photo editor app
Things to invest in:
- Tripod
- Photoshop/Lightroom in adobe suite
- Lighting kit
- DSLR camera
Your products are your brand and you want them to be at the forefront of your store in the highest quality way. Visually pleasing photos will not only make your webstore, contests, and social platforms look better, but will make people want to notice you. Obviously, the better your webstore photos are, the more likely people will purchase for the sole fact that they can actually see what they are buying– but if you use your new product photos to upgrade your look on all of your marketing as well, you will create a new brand interest leaving potential customers wanting to learn more.
Lastly, think about simplicity when you are marketing your brand. Simple backdrop, simple lighting for maximum product visibility, simple editors and presets. Let your products be the main event by keeping your photos as clean and as brand cohesive as possible. This goes for your contest box and landing page photos as well. Whatever you want the customer to notice, focus on making that the center of attention and you will succeed.